Resources Hub
- Home
- Resources Hub
- Tutors and Assessors
- G. Marking Assessments and Providing Feedback
G. Marking Assessments and Providing Feedback
When a learner has submitted their assessment, you will receive a task alerting you that you have to sign off their assessment. Clicking on the task will take you to the assessment so that you can review their evidence, select the criteria (KSBs) that it can be used as evidence for, leave comments and feedback and either sign or resubmit the assessment to the learner.
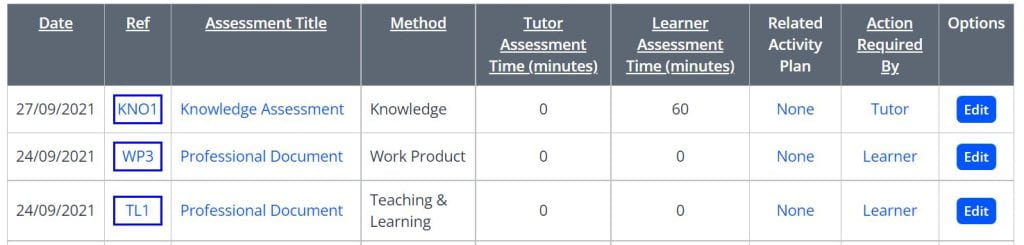
If you access the Assessments tab of the learner’s portfolio, you will see a list of assessments that have either been uploaded by the learner, tutor or employer, and can check who is required to action them, those with the action field set to tutor require you to mark and provide feedback or upload the relevant evidence. When you have located the assessment and want to begin marking and providing feedback, you can complete the following steps:
Assessment Overview
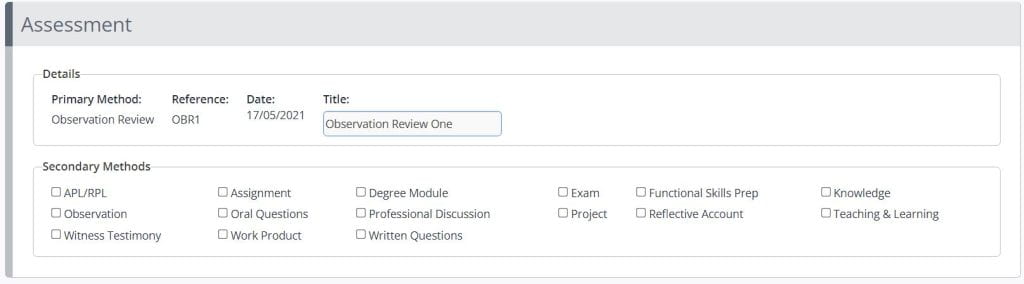
Firstly, when you enter an assessment for marking and feedback, you will see a summary of the details including primary method selected, the reference ID, the date of submission and the title (this can be amended by the tutor), as well as the option to choose a secondary assessment method if required.
Evidence
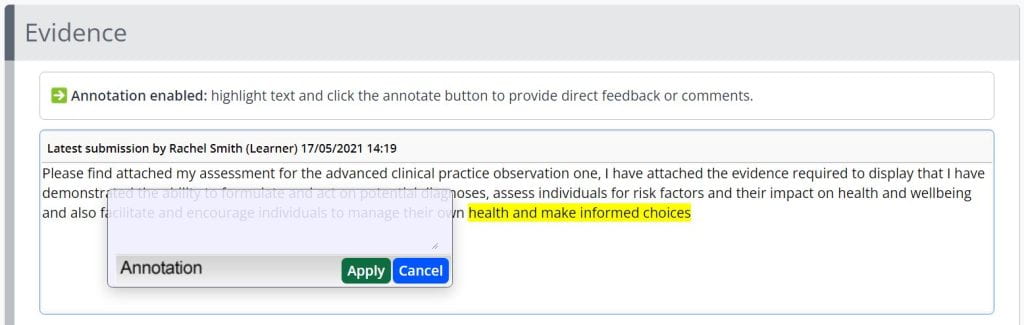
Open the assessment that requires assessing, scroll down to the Evidence section. This is where you will be able to see the written or attached evidence provided by the learner. You can download the files to your computer in order to open them, or simply read the text content provided in the Evidence box.
It is possible for assessors to leave annotations and comments directly onto the text a learner has entered on an assessment. If the assessment has been started by the assessor, for example an observation, the learner would also be able to add their own annotations to the assessor’s text. To do this highlight the text you would like to annotate, click the Annotate button, enter your comments and then click the Apply button.

Criteria Selection
The Criteria tab will show you the knowledges, skills or behaviours that the learner has selected during the assessment upload process, it is your role as the tutor to indicate which of these have been met, which have not and add any additional criteria that the learner has missed out, but have been met by the assessment evidence. If the assessment was created from an assessment template, activity plan or from the Gap Analysis tab, then the assessment may also already have criteria selected.
To confirm that a criteria has been met, use the checkbox next to the description, in the example below it is the checkbox to the left of the text [1.3e] – Professional judgement to formulate and act on potential diagnoses.
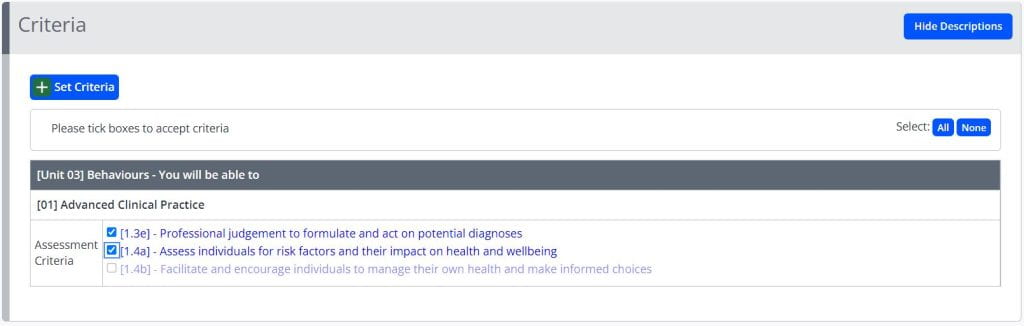
To add further criteria, or remove those that have not been met, you should click the ‘Set Criteria’ button and locate the relevant criteria from the expandable tree of learning aims. You will still need to tick to confirm these when you return to the Assessment Marking page.

Please note: If you do not want the evidence to appear in the gap analysis for criteria that it does not meet, you are advised to remove these from the selected criteria list, as unticking only will not remove them from progress reports and gap analysis overviews.
If it is important that a criteria is shown as not being met, because it should have been by this assessment, you can simply untick the criteria from the Criteria overview menu, and this will leave it recorded against the assessment as mapped, but not met.
If the learner hasn’t met criteria, you can Resubmit it to the learner, with the relevant feedback to finish the Assessment. This will create a task for the learner to resubmit the assessment.
Feedback & Comments
Once you have assessed the evidence and set the criteria, you should leave feedback to the learner. The feedback will be sent in a message to the learner when you sign or resubmit the assessment. You can create a task for the learner to explicitly confirm they have reviewed the feedback.

Visit and Timesheet
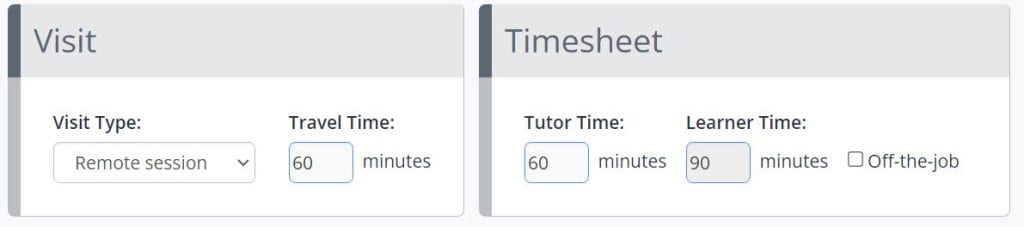
As part of the assessment process, the tutor can indicate and associate time with the assessment that has been created for the learner. The Tutor assessment time value allows the tutor or assessor to indicate how long it took them to mark the assessment or how long it took them to observe the learner if it’s a Tutor started assessment. It is an optional field which, if logged on an assessment, can be seen within the Timesheets section and can also be reported on. The following three fields can be set:
- Assessor Travel Time – How long, if any, you spent travelling to see the learner
- Assessment Visit Type – Specify whether the assessment was face-to-face or remote
- Assessor Assessment Time – How many minutes you spent assessing
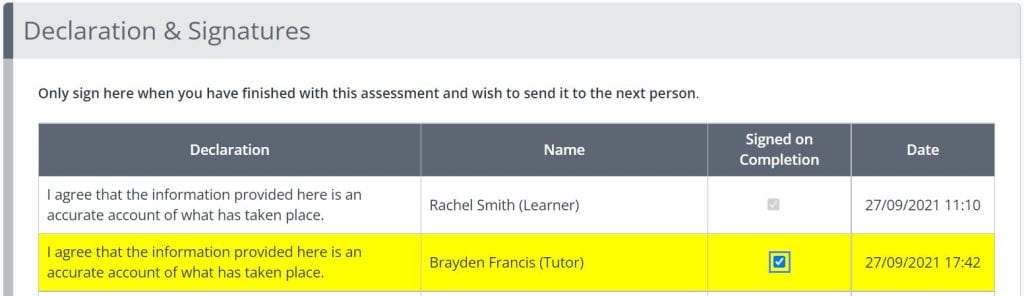
Declaration & Signatures
Once you have finished assessing the assessment, you will then decide to accept or resubmit the assessment. Accepting the assessment will make any accepted (ticked) criteria count towards progress. To do this, simply add a tick next to your name to sign and click any Save button. Resubmitting the assessment will send a task to the learner so that they can view your feedback and make the required amendments. To do this, just click the Resubmit button

Please note: this support resource is specific to the Tutor role within One File. The ‘Tutor’ is the qualified user role associated with the direct assessment of the portfolio, they review all evidence uploaded by the learner and provide feedback in relation to the knowledges, skills and behaviours of the apprenticeship framework. They also schedule and record all information for tripartite reviews and sign off each unit as they are completed by the learner. If you are unsure of the user role you have been given, you can verify this by logging into One File, and reviewing the role listed underneath your full name, displayed in the profile card in the top-right of the homepage interface.