Resources Hub
- Home
- Resources Hub
- Tutors and Assessors
- H. Uploading Evidence on behalf of the Learner
H. Uploading Evidence on behalf of the Learner
As the tutor or assessor of an apprentice using One File you can create Assessments on the learner’s portfolio in order to upload evidence on their behalf, this is different to creating an Activity Plan where you provide instructions and criteria mapping for a learner to then upload the evidence as part of the submission.
Which Process Should I use for Creating Learner Assessments?
- Process 1: Tutor provides task instructions and criteria mapping for a single assessment that the learner then submits to. (Assessment Templates)
- Process 2: Tutor provides task instructions and criteria mapping for multiple tasks that the learner then submits to. (Activity Plan)
- Process 3: Tutor uploads evidence documents on behalf of the learner and maps to criteria. (Assessment – Create Assessment)
- Process 4: Tutor wants to store evidence in the learner’s portfolio without mapping to the criteria. (Upload Evidence/Assessment Evidence)
This guide will focus on Starting a New Assessment (process 3), please see the “Assigning Teaching, Learning and Assessment Plans (TLAPs)” helpsheet for information about templating assessments using the Activity Plan and Assessment Templates tools.
Creating and Uploading Evidence to Assessments
To begin creating an assessment, you will need to access the ‘Assessment’ tab of the learner’s portfolio. The Assessments area can either be found in the Information and Options tab of the learner’s portfolio, as displayed below:

Or you can navigate from the Tutor Homepage after logging in to One File, in the Learner Dashboard tab you will see an Assessment button located in the Portfolio Options column of the table, as displayed below:
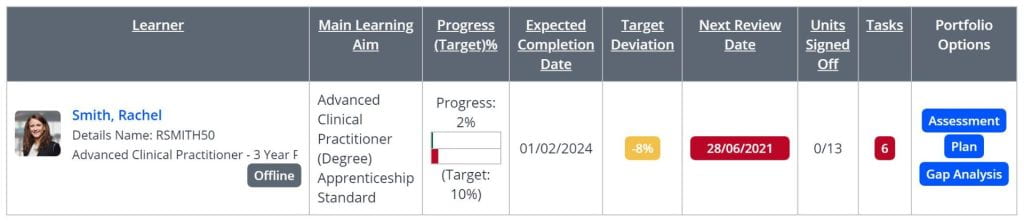
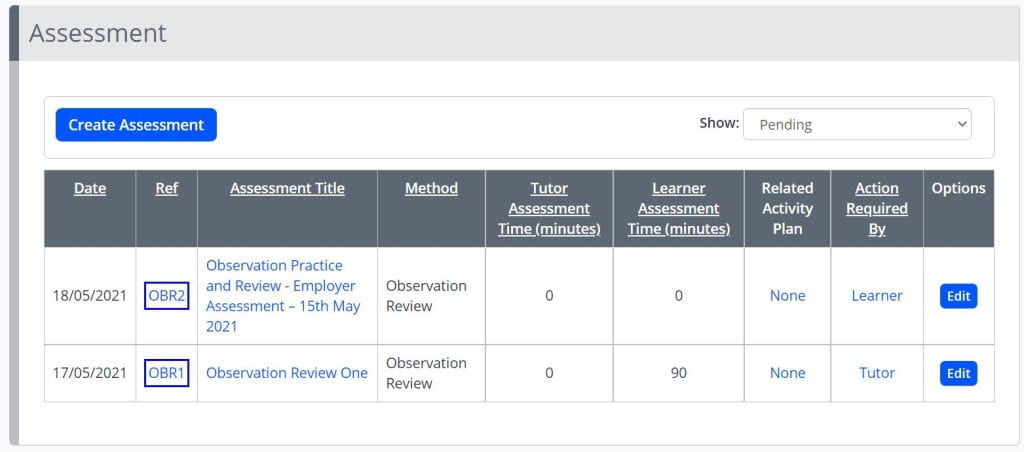
- After accessing the Assessments tab you will see a list of assessments that have previously been created by the learner, or that you have uploaded/allocated using Activity Plans and Assessment Templates. The ‘action required by column’ will indicate who needs to review or complete the assessment, where the field states learner this indicates that your apprentice needs to upload evidence or sign and add comments, where the field states tutor this indicates that the assessment is completed and you need t mark it and provide feedback. To create a new assessment click Create Assessment.
You will have the option to create an assessment based on Centre Templates, these are templates that a tutor or programme leader has created and a center manager has made accessible to all users, a Tutor Template, these are templates that you have created before and may reuse throughout your time working with the apprenticeship, or to Start a New Assessment. This guide will focus on Starting a New Assessment, please see the Assigning Teaching, Learning and Assessment Plans (TLAPs) helpsheet for information about templating assessments.
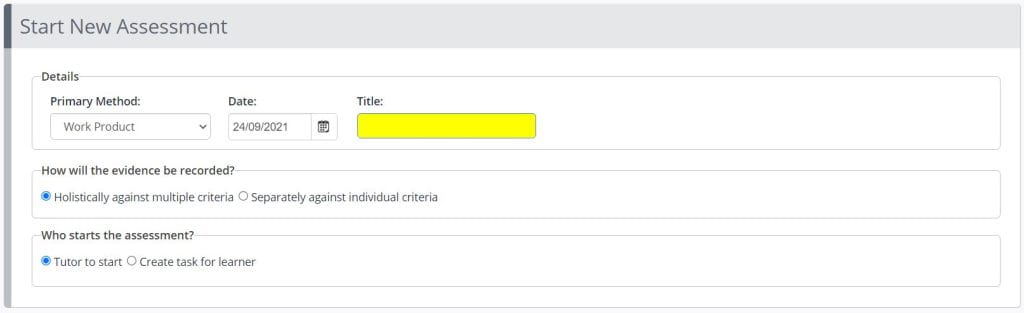
- The first step requires you to select an assessment method, also known as the primary method, this is simply a category for the assessment. Then enter a date, title, and whether evidence will be recorded holistically against multiple criteria or separately against individual criteria.
- If you are uploading one or more documents that all meet a selection of the standards, you can select holistically, if you are uploading multiple documents and each document refers to a specific knowledge, skill or behaviour, but are part of the same assessment upload, you should select separately.
- At this stage you can indicate whether the assessment is started by the tutor, which allows you to upload evidence, or if you want to create a task for the learner.
- Click Start to proceed.
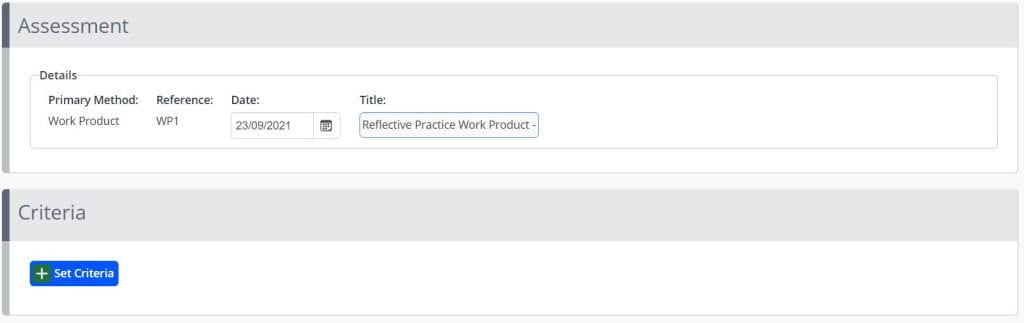
- You can now add the criteria from the apprenticeship standard that this assessment evidence meets, to begin selecting the knowledges, skills and behaviours click the Set Criteria button.
- The Set Criteria menu will present the learning aims associated with the learner’s account, you can expand and collapse each segment to locate the specific knowledges, skills and behaviours you would like to evidence as part of this assessment.
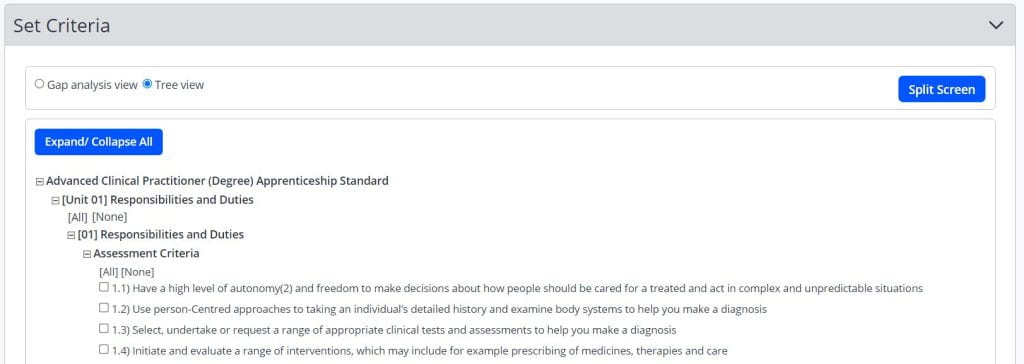
- Use the checkboxes provided to select the criteria, then when you are done click Save. Your selections will be highlighted in yellow. You can then click Back.

- If you scroll down you will find the Evidence box, you can either enter your evidence as text, or add attachments using the upload attachments.
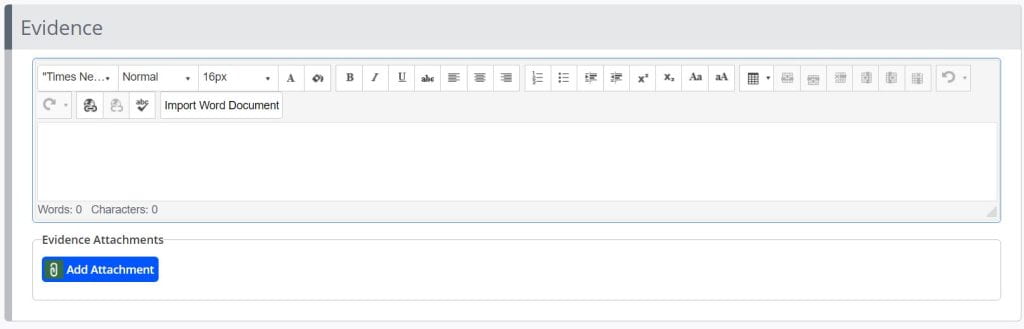

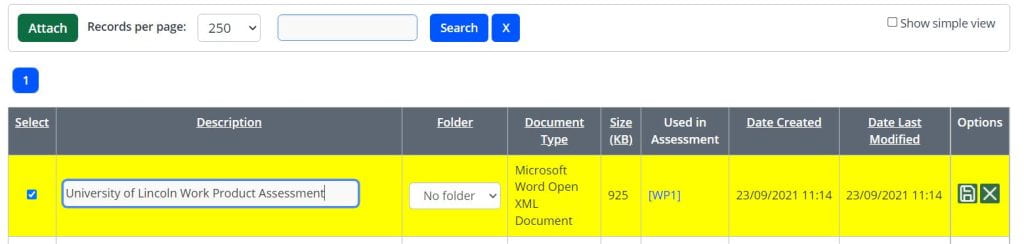
- You can drag and drop files into the upload space or click the Select files button. This will open your computer’s file browser system. When you have selected your files you will have the chance to rename them, but you also need to click the save icon to confirm the file is correct. Then click Attach to add the files and return to the Create Assessment screen.
- The Feedback and Comments box allows you to indicate any related information to the learner about the assessment evidence that you are uploading on their behalf and any related actions that they now need to complete. As part of this you can also create a task for the learner to acknowledge his feedback. Once the task has been opened by the learner, they will be able to acknowledge the feedback provided to them by clicking Mark as Read.
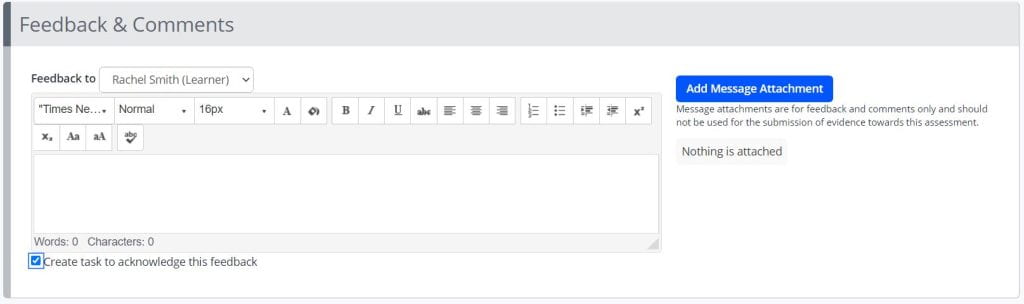
- When you are done, you can click the ‘Signed on Completion’ checkbox and then click Save and Quit. If you want to save and return to the assessment later, do not tick the signature box, and click Save and Refresh.
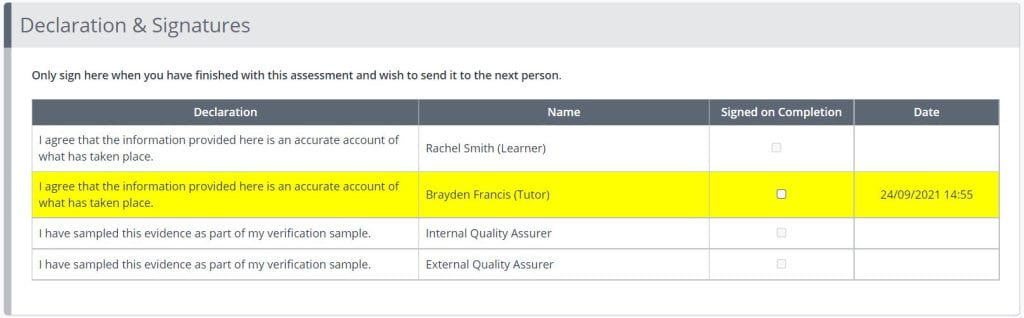
You have now successfully created an assessment and uploaded evidence on behalf of the learner, this will be sent to the learner to add feedback comments and sign.
Please note: this support resource is specific to the Tutor role within One File. The ‘Tutor’ is the qualified user role associated with the direct assessment of the portfolio, they review all evidence uploaded by the learner and provide feedback in relation to the knowledges, skills and behaviours of the apprenticeship framework. They also schedule and record all information for tripartite reviews and sign off each unit as they are completed by the learner. If you are unsure of the user role you have been given, you can verify this by logging into One File, and reviewing the role listed underneath your full name, displayed in the profile card in the top-right of the homepage interface.