Resources Hub
- Home
- Resources Hub
- Blackboard Original
- Managing the Grade Centre Categories and Smart Views
Managing the Grade Centre Categories and Smart Views
The Grade Centre offers a variety of ways of presenting records of students’ performance. You can organise assessments into different categories, and using these you can set up different views of the Grade Centre, to get an overview of students’ performance in, for example, examinations, and written work.
Setting up a Category
- Blackboard provides pre-existing categories, which can be used e.g. Assignment, Test etc.
- Hover over the Manage menu button.
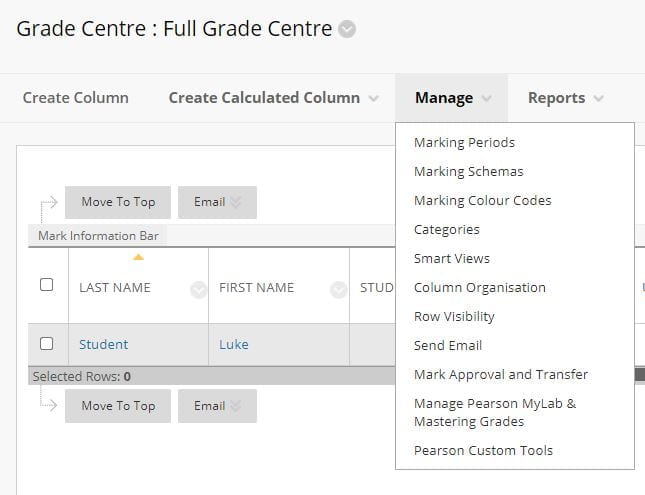
- Select Categories and Click on the Create Category button.
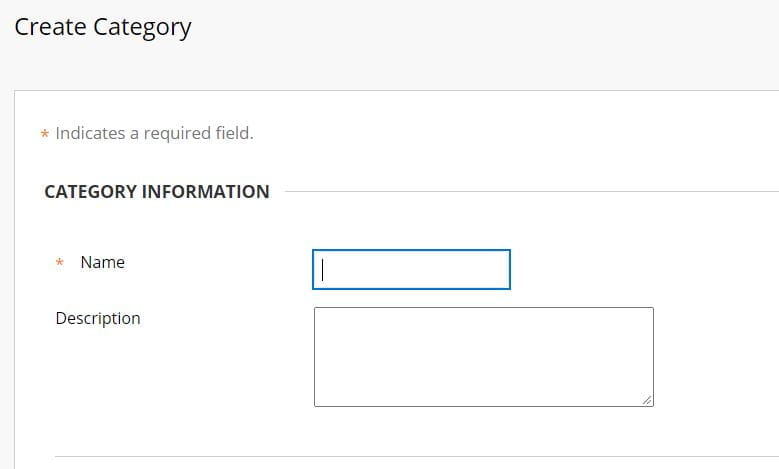
- Enter a category name and brief description.
- Click submit to save your category.
Associating an Assignment with a Category
- Return to the Full Grade Centre.
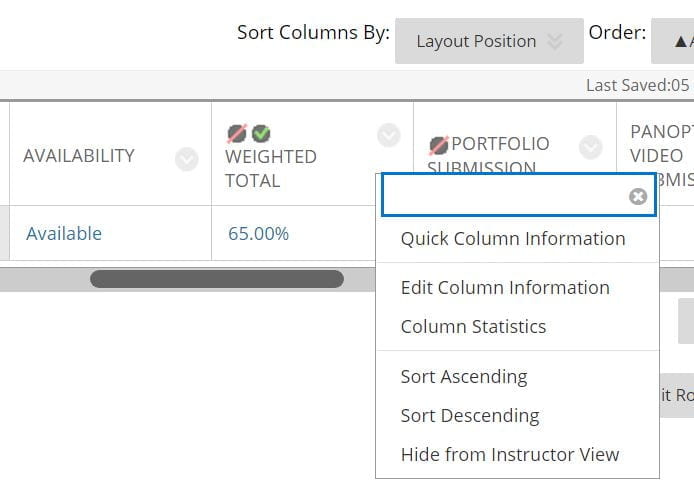
- Click the drop down icon on the assignment column header.
- Select Edit Column Information.
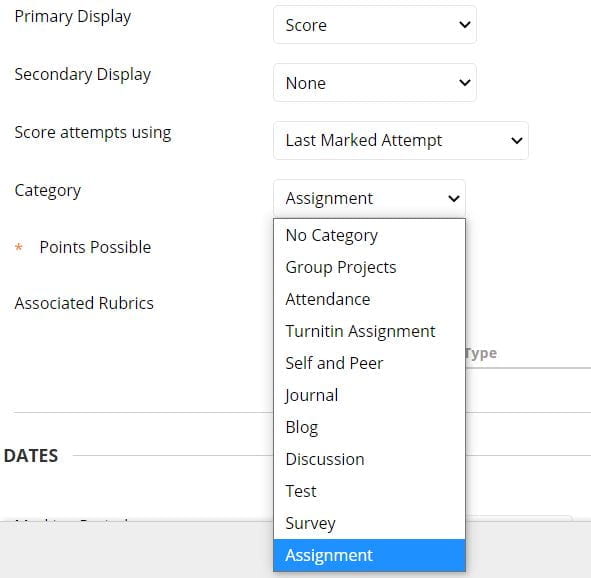
- Select the appropriate category from the drop down list.
Viewing Student Performance in a Category using Smart Views
To view a student’s performance in one or more categories a Smart View of the Grade Centre must be created.
- Hover over the Manage menu button and select Smart View.
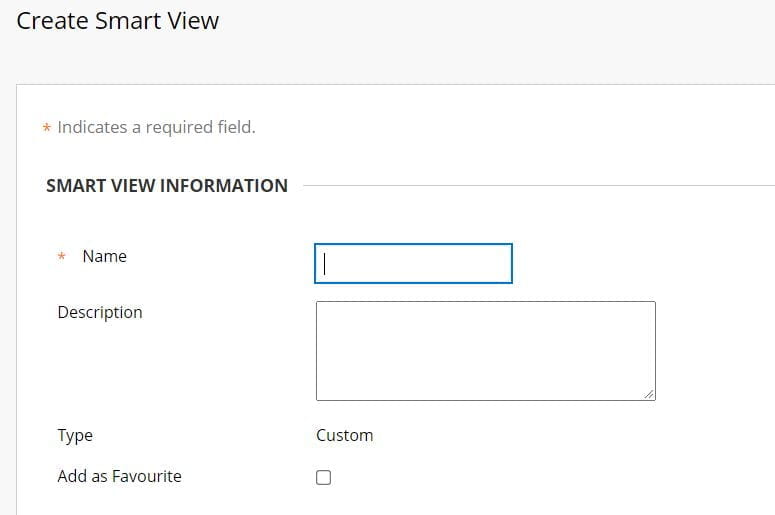
- Click Create Smart View.
- Enter a name and description.
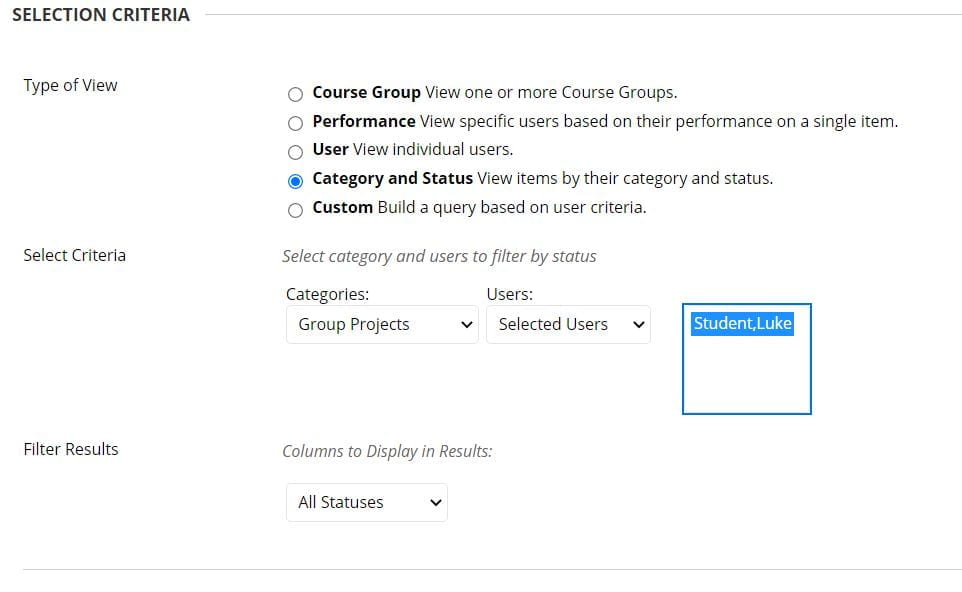
- Select the Category and Status view type. This option is based on Category, such as Assignment or Test, user or users and mark Status, such as Completed or Not Attempted.
- Select the Criteria to refine the Type of View selected. The Type of View selected determines what shows in the Select Criteria section.
- Under Categories, select a Category from the drop-down list, such as Assignment or Test.
- Under Users, select All Users from the drop-down list to include results for all Students. Select Selected User from the drop-down list and select the individual Students needed. Hold down the CRTL key to select multiple users.
- Select the Filter Results from the drop-down list by selecting the columns or grade Status, such as Completed or Not Attempted.
What else can I do with Categories & Smart Views?
Categories are used to group related columns together and organize the data.
- Filter your view of the Grade Centre. For example, you can filter using the Assignment category and view only assignment columns in the Grade Centre grid.
- Calculate grades. For example, you can assign a weight to a category when calculating final grades using a weighted column.
Smart views are views of the Grade Centre based on a variety of student criteria. For example:
- Generate a smart view that only displays columns associated with the Test category.
- Track students with low scores.
- Compare assignment performance.
- Create a report. You can create a printable report that displays statistics of performance for all of the columns in a certain category.
All the smart views you create are available by selecting Smart Views from the Manage button.