Resources Hub
- Home
- Resources Hub
- Blackboard Original
- Managing the Grade Centre Marking Periods
Managing the Grade Centre Marking Periods
Marking Periods (also referred to as Grading Periods) group assessments by specific time periods. For example, filter assessments to display only Semester A or Semester B, by week or month.
Setting up a Marking Period
- Click Grade Centre in the Control Panel and Select Full Grade Centre.

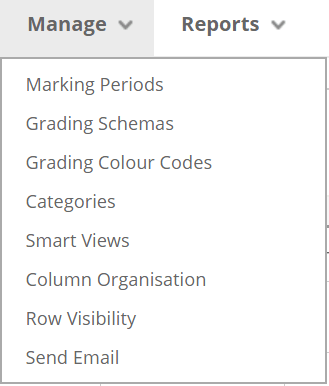
- Hover your mouse over the Manage menu button.
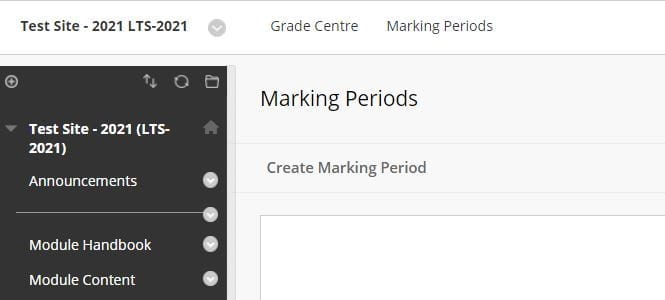
- Select Marking Periods from the drop-down menu.
- Click the Create Marking Period button.
- Give your Marking Period a name (and description).

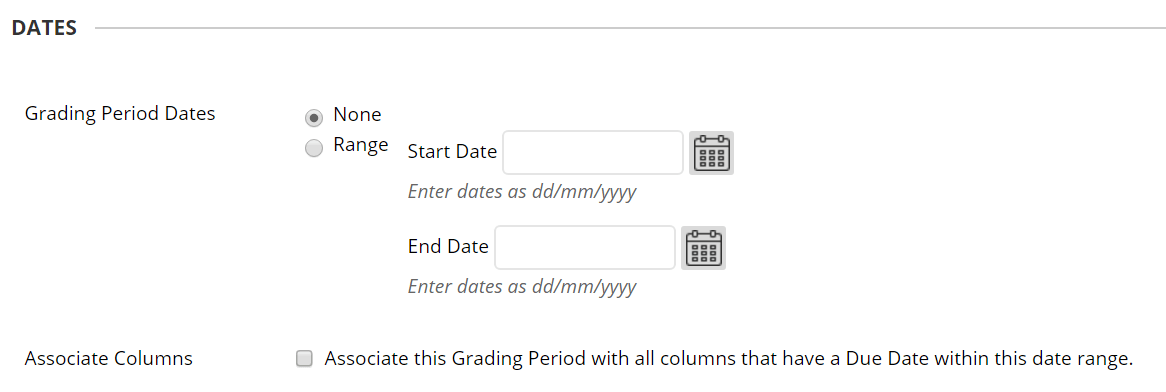
- Select the start and end dates.
- If assignments have been created, those with due dates within the set date range, can be automatically associated with the Marking Period. Tick the radio button. You will need to check the Associate Columns box.
- Click Submit.
Associating an Assignment with a Marking Period
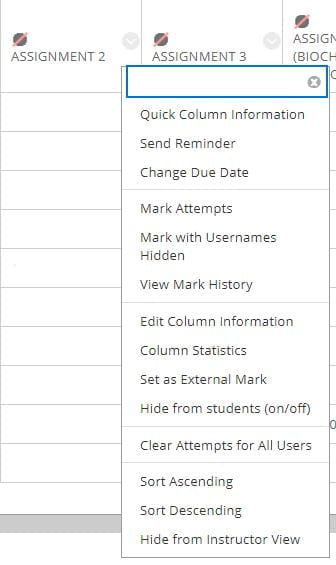
- Click on the dropdown arrow on the assignment column header.
- Select Edit Column Information from the drop-down menu.
- In the Dates section, select a Grading Period from the drop down. (The list will only display if Marking Periods have already been created.)
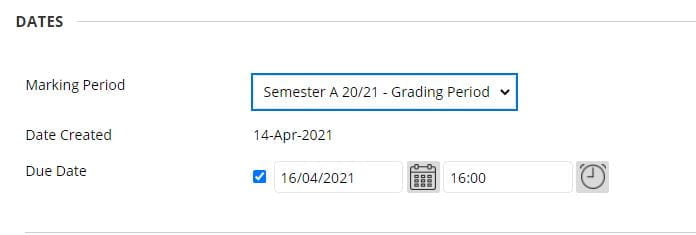
- Click Submit.
Note:
- Columns associated with a Marking Period do not appear in the Grade Centre outside of that period to show only the most relevant columns.
- To display a column outside its marking period click the Manage menu button and select Column Organisation from the drop-down menu.
- A list of all the columns in the grade book, including sections listing your marking periods will display.
- Tick the column and select Show Selected Columns in All Grade Centre Views.