Resources Hub
- Home
- Resources Hub
- Getting Started
- Amending the Due Date after Assignment Creation
Amending the Due Date after Assignment Creation
This helpsheet will provide you with the steps to change the due date of your Turnitin assignment after students have begun submitting.
Overview
The Turnitin LTI is the latest version of Turnitin and is integrated in all Blackboard modules for your students to submit essay-based assignments to. During the setup process for each submission point, you are asked to enter the start date, due date and feedback release date for the assignment.
It is expected by Turnitin that these dates are unlikely to change except in very specific circumstances. Therefore, after students begin submitting to your assignment you will typically find that the start date and due date fields become ‘greyed out’ or unmediatable from within the Turnitin Assignment settings.
You will also notice that details such as the title cannot be edited in the settings area after creation.
Why am I unable to edit these details from within the Turnitin Assignment inbox?
The reason the change was introduced by Turnitin is that certain settings: title, instructions, max grade, and due date are shared between Turnitin and Blackboard. In order to prevent you from needing to update these in two locations, following initial assignment creation these fields can only be updated within the Blackboard assignment settings. These changes will then sync through to Turnitin.
How do I change the due date after the assignment has been created?
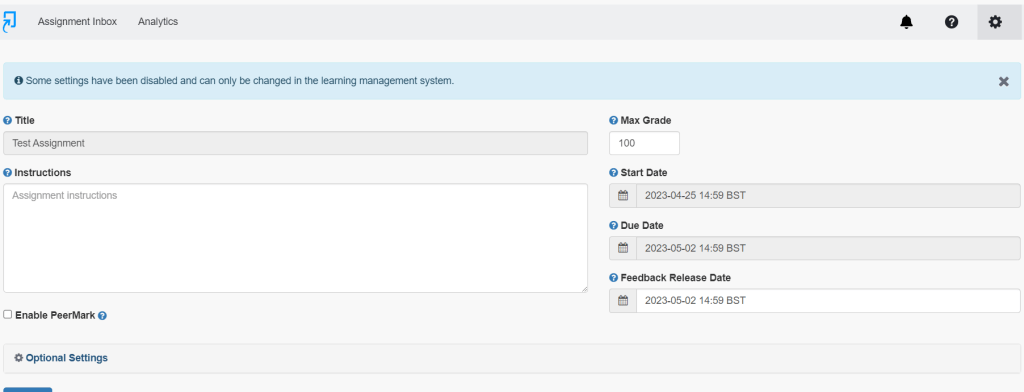
If you are required to amend the due date on your assignment, you will find that when trying to do this within Turnitin you are presented with the message: “some settings have been disabled and can only be changed within the learning management system” as shown in the screenshot below.
Therefore, you will need to make any necessary changes to the assignment settings from within Blackboard.
- Firstly, click on the grey arrow next to the title of the assessment for which you wish to change the due date.
- This will reveal a menu, select ‘Edit‘ from this menu, it is normally the first result.
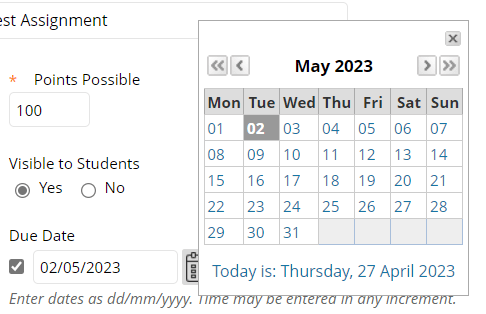
- Once you have been redirected to the ‘Edit‘ menu, you will see a section labelled ‘Due Date‘ and the option to amend the date and time.
- After amending the due date you can now click the ‘Submit‘ button to save the changes.