Resources Hub
- Home
- Resources Hub
- Getting Started with Panopto
- Creating a Panopto Video Submission Point
Creating a Panopto Video Submission Point
This helpsheet will talk you through the process of creating a Panopto Video submission Point through which students can submit videos as part of an assessment. The video submission element is a new part of the Blackboard submission process.
Later in the helpsheet, we cover how to access and mark video submitted via Panopto.
Note: The site must first be provisioned with Panopto by clicking the Panopto link in the left-hand menu, and clicking configure.
Creating a Panopto Video Submission Point
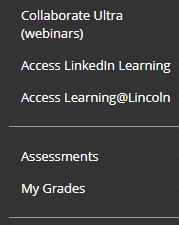
- Navigate to the module site on Blackboard where you wish to set up the assignment and click the ‘assessments’ link on the side bar.
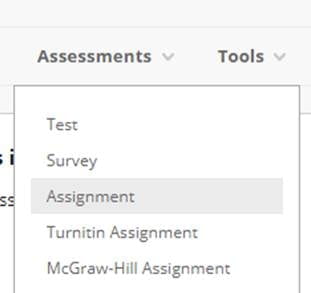
- At the top of the ‘Assessments’ page you will see the edit menu.

If you cannot see this menu make sure that ‘Edit Mode’ is turned on to the top right.

- Click the ‘Assessments’ and choose ‘Assignment’ to create a Blackboard assignment.
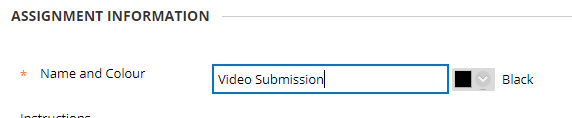
- Under the ‘Assignment Information’ section enter a name for your assessment.
- Click into the ‘Instructions’ box and look for the (+), ‘plus’, icon on the toolbar.
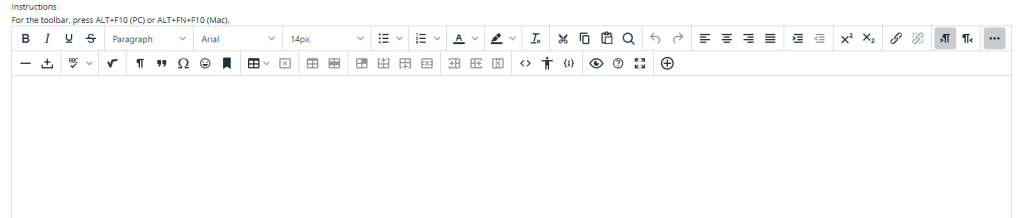
- Choose ‘Panopto Student Video Submission’ from the ‘Additional Tools Menu’
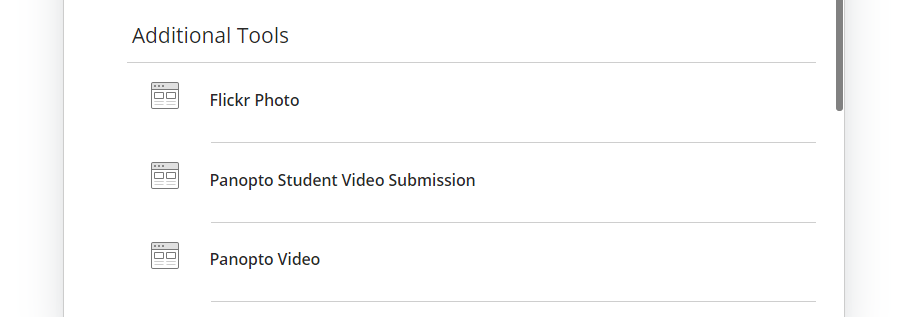
- The ‘Instructions’ box will auto-populate with a series of instructions covering the process students need to follow in order to submit their video.

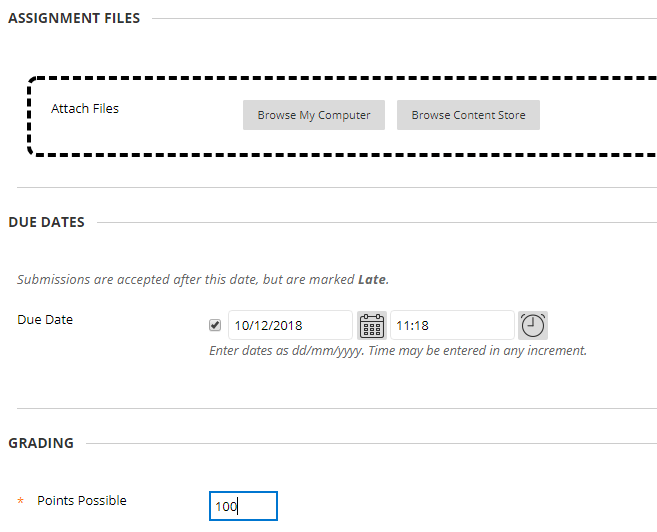
- Upload any additional files student may require for this assessment and set the due date in the usual way. Also set the ‘Points Possible’ to 100 as with every assignment.
- Click ‘Submit’
- Your assignment will be created.

The students can follow the instructions listed under the assessment title and this will help them to submit their work via Panopto.
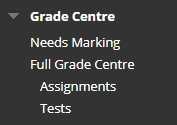
- You should go to the ‘Grade Centre’ and ‘Full Grade Centre’
- From the ‘Full Grade Centre’ you should scroll across until you see the column for the assessment you just created.
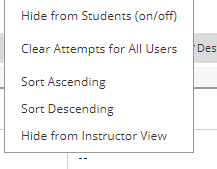
- Click the arrow next to the assessment name and click the ‘Hide From Students On/Off’ toggle switch. This will hide the column from students and avoid any grades being revealed before you are ready, when you come to mark the assessment.
Note: You should remember to repeat steps 10 – 12 once you are ready to reveal grades to students for this assessment, after marking. This will revert the process and make the column visible to the students via ‘My Grades’.
Accessing and marking student video submissions
- Once a student submits a video using the assessment point you set up above, the video will be moved to a special Panopto folder within the module that is only visible to instructors. This process happens at the point the student clicks ‘submit’ and means they are unable to alter, delete or edit their video submission after the deadline.
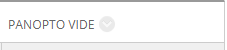
You will see the folder if you click through to ‘Panopto’ within the module site.

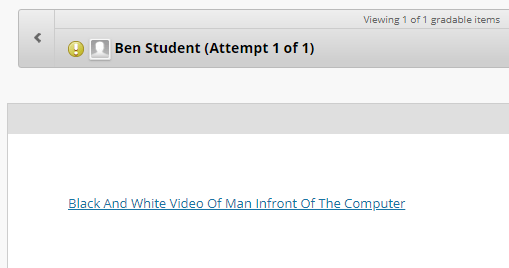
- To access the student submissions, go to ‘Needs Marking’ where you will see a list of students who have submitted work that needs to be marked. This works in the same way as a normal Blackboard submission.

- Clicking the student name under ‘User Attempt’ will take you through to the submission itself. Here you will see a link off to the video and any additional information provided by the student.
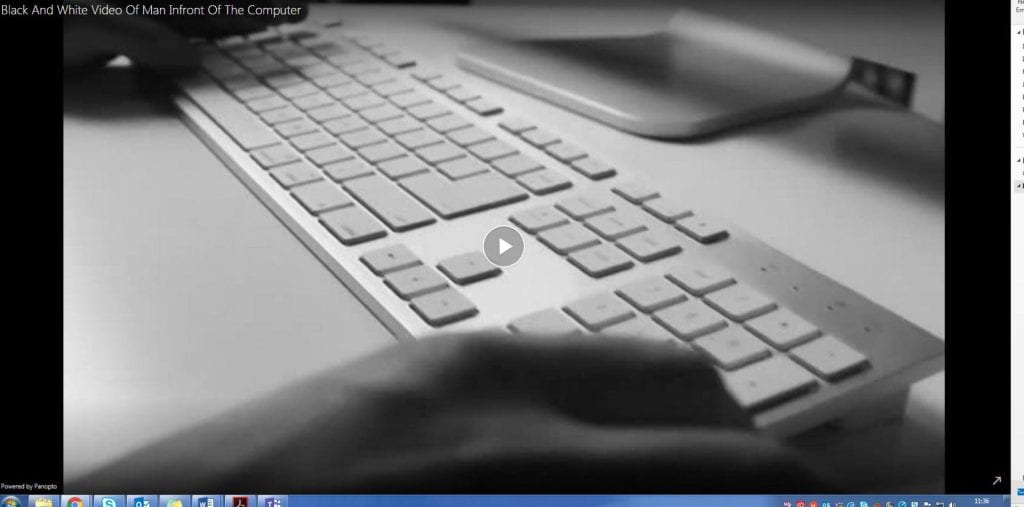
- Clicking the link in the student submission will open up the video on Panopto for you to mark.
- You can now mark the assessment in the usual way. Please see the other Blackboard helpsheets within the Help & Support tab, particularly BB_024, which cover the marking of Blackboard assessments.