Resources Hub
- Home
- Resources Hub
- Getting Started with Panopto
- Using the Panopto Capture to Record on Web
Using the Panopto Capture to Record on Web
This helpsheet details the steps involved in creating a recording using the Panopto Capture BETA tool to record videos within your web browser.
Note: The Panopto web recorder is a new feature recently released by Panopto as such, it is still in BETA. It may not work as you expect it, so please use it carefully. In testing the tool has worked well, but it is best recommended for short videos with limited screen sharing.
Top Tips When using the Panopto Capture tool, only use it to record short videos where possible.Do not have too many tabs open on your web browser when using this tool.This tool is in BETA, so please do be aware that this may affect your recordings if the system crashes. This tool should be used as a workaround if the Desktop Recorder is not suitable for you to use due to a technical issue.
- Navigate to your module site on Blackboard, where you wish to start the recording.
- Ensure Edit Mode is on.

- The create content menu buttons will be visible.
- Navigate to ‘Panopto’ on the sidebar of your module site within Blackboard.
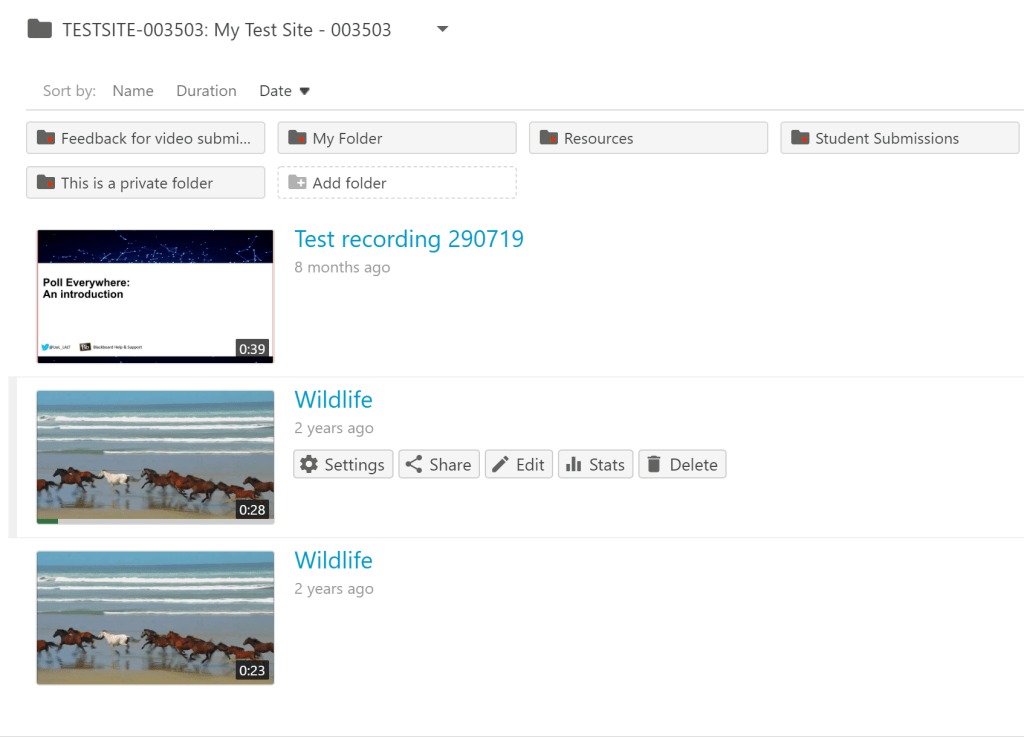
- You will see all the videos that have been loaded onto your module site.
- Click ‘Create’ at the top of the page and choose ‘Panopto Capture BETA’.
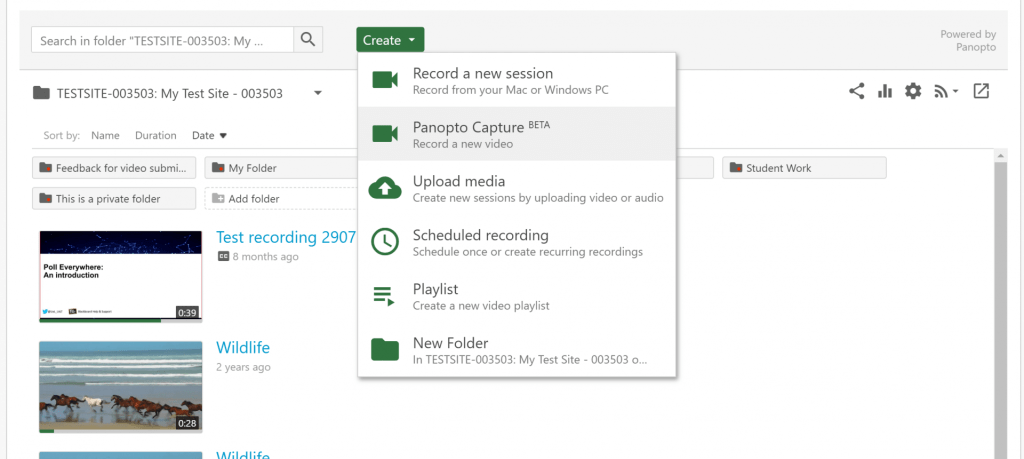
- The Panopto Capture tool will open in a new window.
- Using this tool, you can record videos directly from your web browser (Google Chrome recommended) and they will be saved to your module site. It is an alternative to using the Desktop Recorder software.
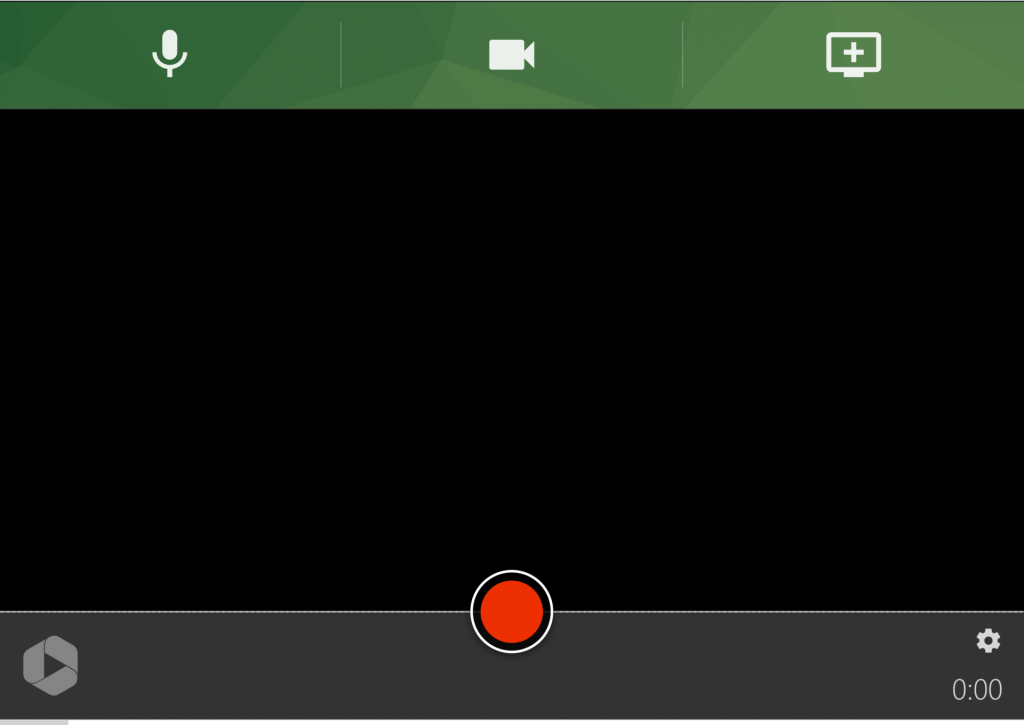
Before starting to record, please run through the settings buttons at the top of the recorder.
- Click the microphone icon and choose a microphone to use.
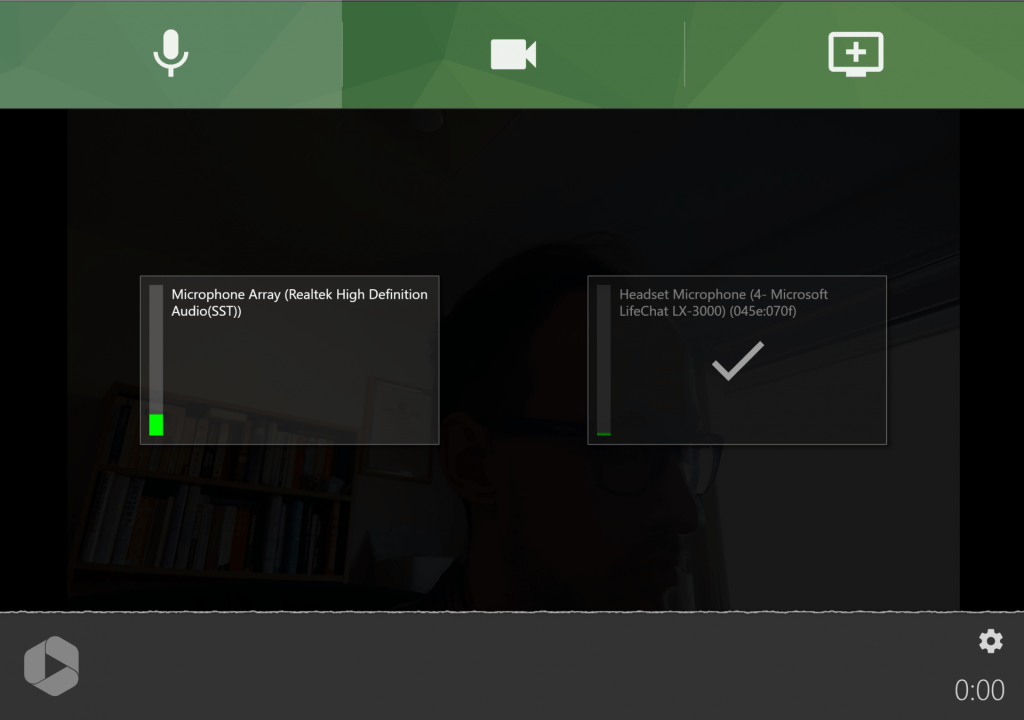
The microphone you have chosen will be ticked. If you talk into it, a sound wave will appear along the bottom of the recorder for you to check the level.
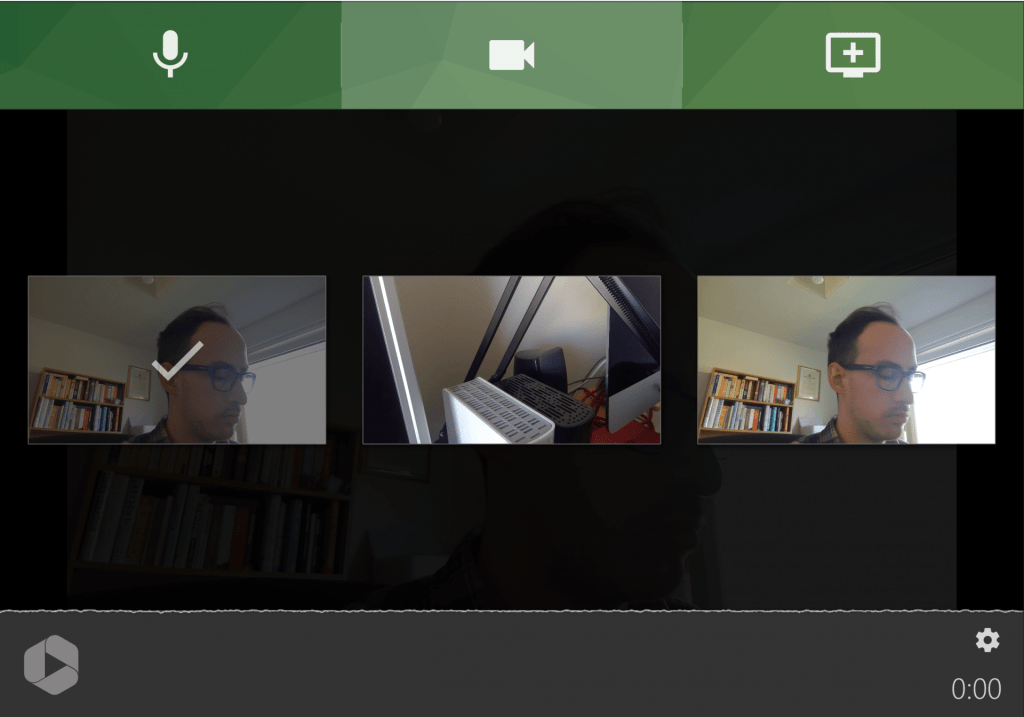
- Click the video camera icon to choose a video source. The source you have chosen will be ticked.
- Click the Screen Share icon, you will be presented with a window a little similar to Microsoft Teams and Collaborate Ultra, where you must choose which window to share to the recorder. This is the same as choose to record your ‘Primary Screen’ in the Desktop Recorder.
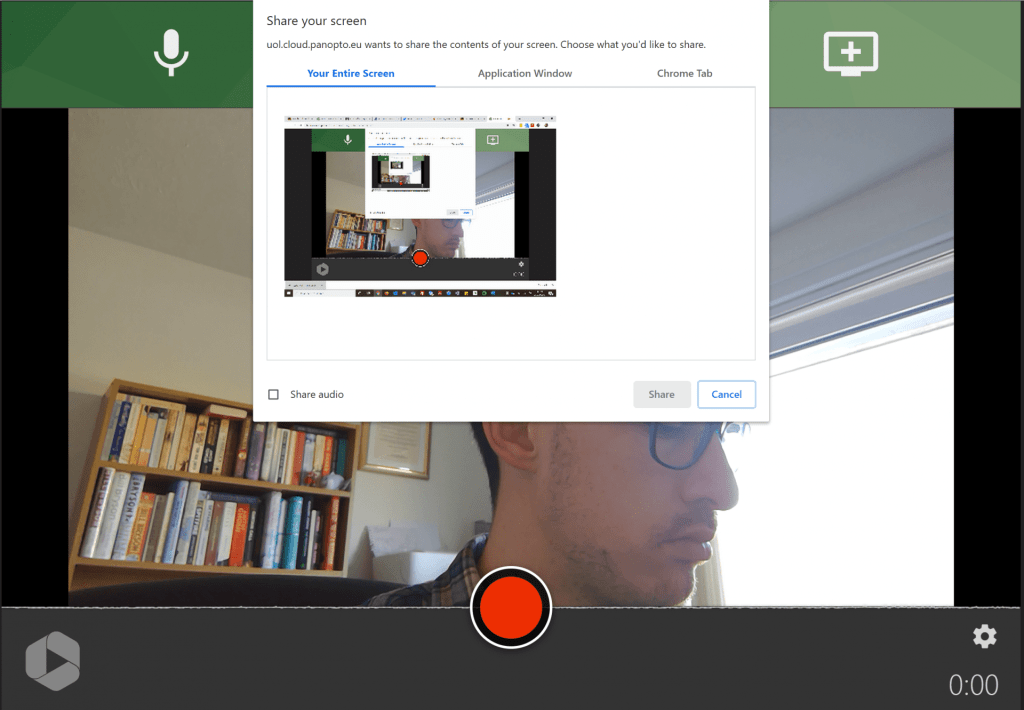
Choose either your ‘Entire Screen’, ‘Application window’ (for a specific tool only) or ‘Chrome Tab’. The key point here is to ensure that you click the image of the screen you wish to record and then click ‘share’. If you don’t first click the screen image the ‘share’ button will remain greyed out.
Note: If you wish to record a PowerPoint you will need to share your screen, then after you have started recording minimise your web browser, and open up your PowerPoint. In this way the Panopto Capture tool is reordering your screen not your PowerPoint directly, so it will not have the usual slide ‘scenes’ as recordings might do if recorded with the Desktop software.
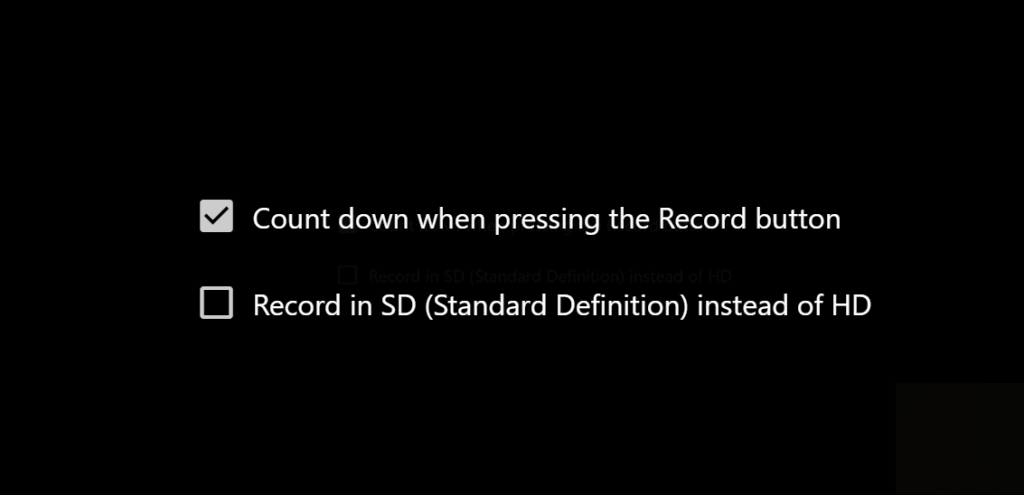
- If you click the ‘Settings’ gear in the bottom right hand side of the screen, you can change from HD to SD quality for your recording. This a good idea if you have a slower internet connection.
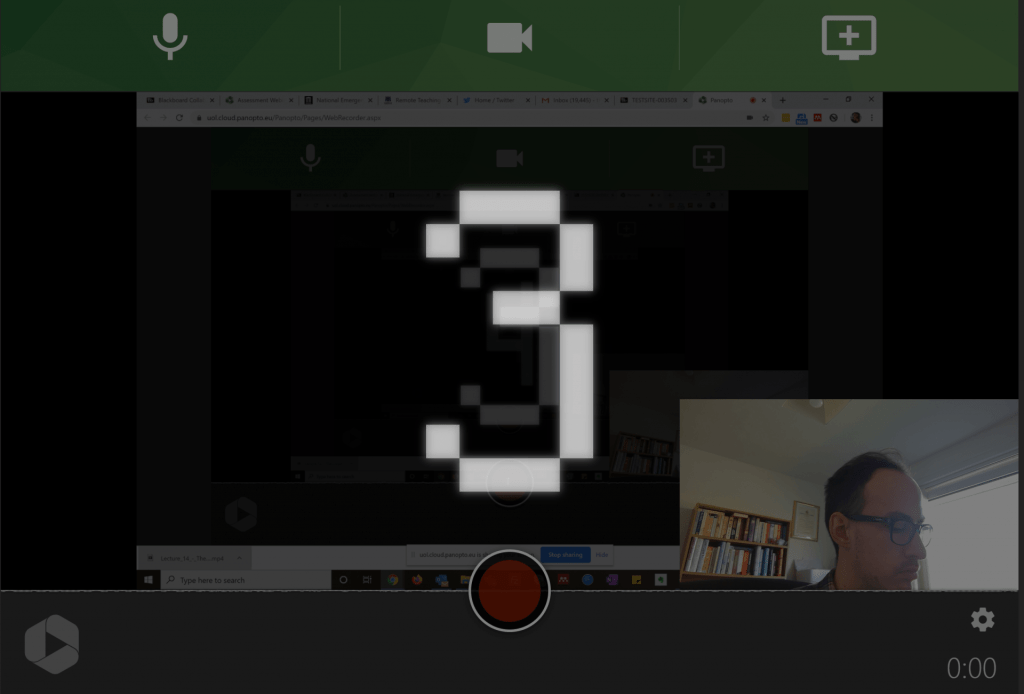
- When you are ready to record, press the ‘Record’ button in the centre of the screen to start your recording. There will be a countdown and then the recording will start.
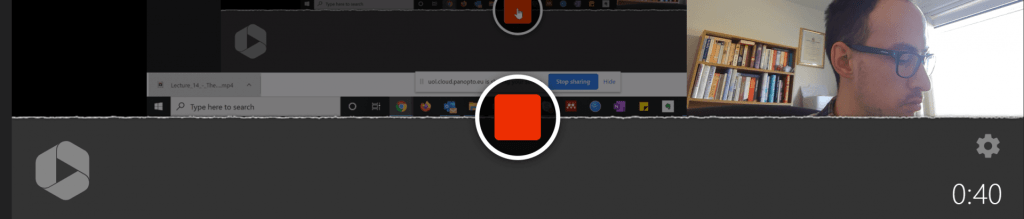
- In the bottom right of the screen you will see a timer showing the length of your recording. You should continue your recording in the usual way, navigating to your PowerPoint to present etc.
When you are finished you should click the ‘Stop’ button in the centre of the screen.
- When you have finished recording you will see a new window where you can choose which folder you want to save your recording to. Please choose the relevant module site for your dropdown list and make sure you add a title.

In the bottom left hand side of the screen, you will see that your video is being saved and uploaded. This progress bar will fill up as the video is saved. Do not close the page until this bar has finished loading as your video will not be saved otherwise.

- Once the progress bar has finished loading, your video should be saved. Before you close the Panopto Capture BETA tool, you should navigate to your module site in a separate tab and make sure that your video has been uploaded.

Note: You should also make sure you stop sharing your screen by clicking ‘Stop Sharing’ on the window that appears at the bottom of your screen.