Resources Hub
- Home
- Resources Hub
- Blackboard Ultra
- Adding Images to Learning Modules
Adding Images to Learning Modules
You can now enhance your Ultra courses by incorporating images into Learning Modules. These images not only improve the visual aesthetics of the course but also aid in content identification, fostering a more engaging and effective learning experience for students. This comprehensive guide will help you through the step-by-step process of adding images to your Learning Modules.
Step 1: Accessing the Learning Module Edit Menu
To begin, navigate to the Learning Module where you wish to add an image. Click on the ellipsis menu (three dots) associated with the Learning Module, and from the options presented, select “Edit.”

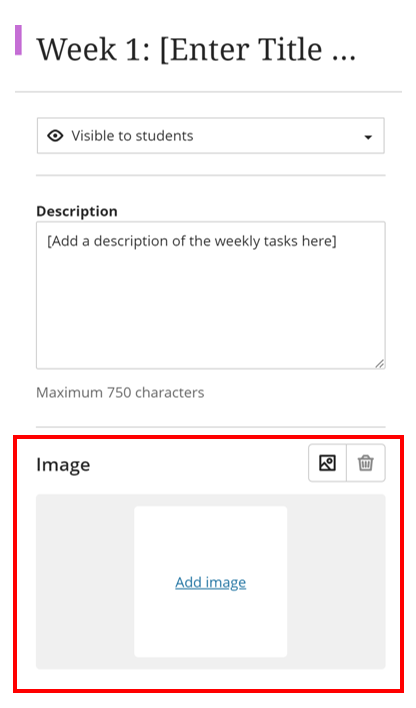
Step 2: Adding an Image
Once in the Learning Module edit mode, you will find the option to add an image. Click on either the “Add image” button or the image icon, as shown below.
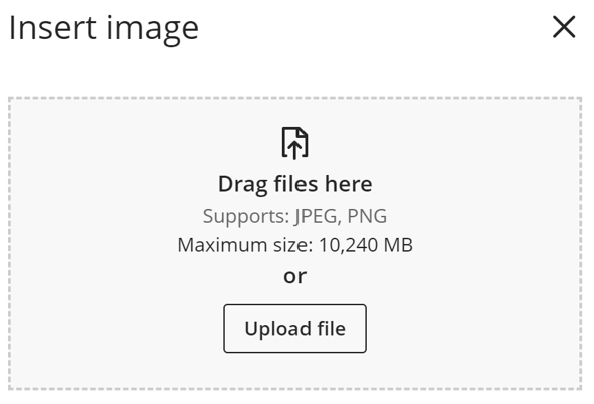
Step 3: Uploading an Image
You have the flexibility to upload an image from your device or simply drag and drop an image of your choice into the designated area.
Please keep in mind that the recommended size of image is 500×500 pixels. If you use a landscape image it will crop the image into a square. You can visit lncn.ac/ucvbanners; this site will provide you with access to a selection of ready-to-use learning module images as a starting point for your course design, however, staff are encouraged to gather their own images, relevant to their specific discipline. Websites that we recommend for obtaining images are https://pixabay.com/ or https://www.pexels.com/.
Step 4: Preview the Image
After uploading or dragging the image, a preview will appear. This allows you to ensure that the desired image looks suitable before finalising. Click on ‘Next’ if you are happy with the image or ‘Cancel’ to upload another image.

Step 5 : Reposition the image
In the next step, you can reposition the image to adjust the focus, and click on ‘Save’ once you are happy.

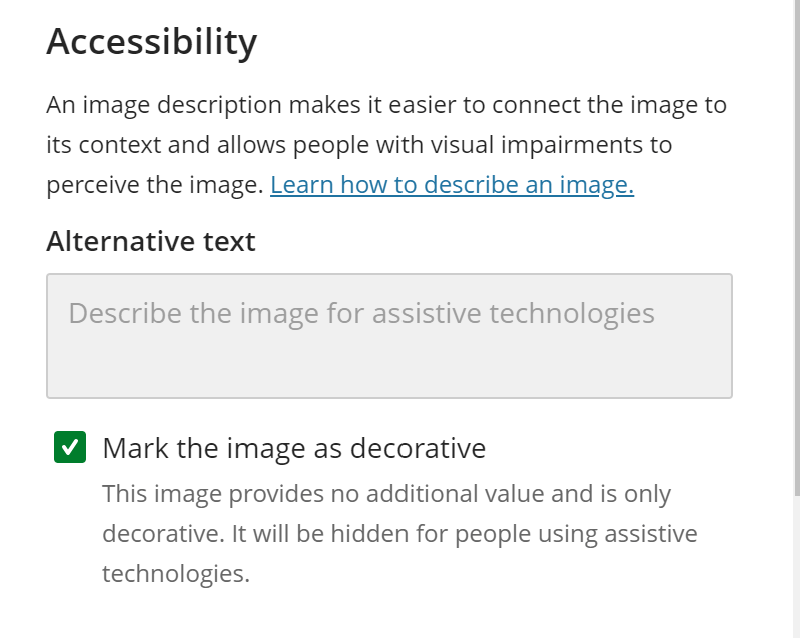
Step 6: Implementing Accessibility Settings
Mark the image as decorative or provide suitable alternative text, thus facilitating an equitable learning environment for all students, including those relying on screen readers. When writing alternative text for images, aim to provide a concise and descriptive summary of the image’s content and purpose, ensuring it conveys the essential information to users who cannot see the image.
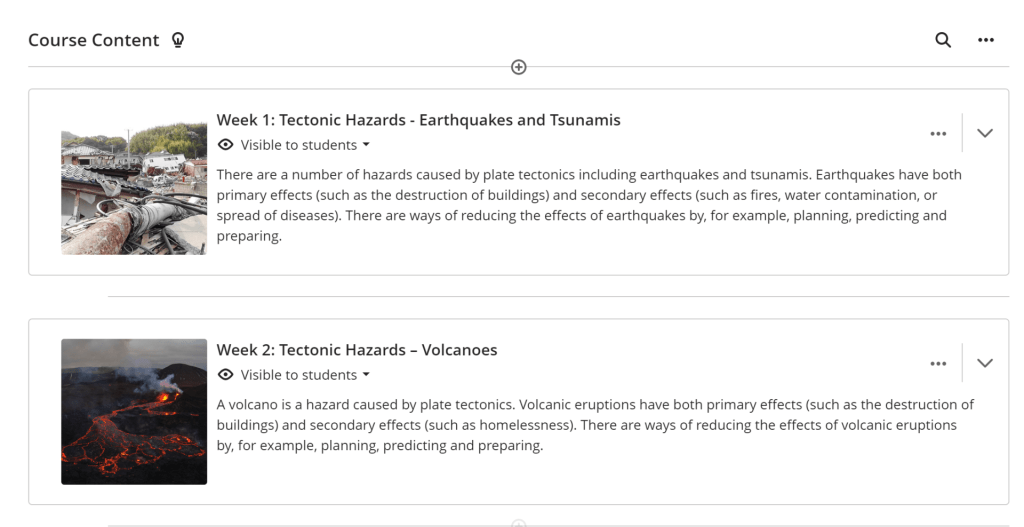
Step 7: Viewing the Learning Module Image
Once you have completed the above steps, the image will be successfully added to the Learning Module. Students will be able to see the image when they access the Course Content page.