Resources Hub
- Home
- Resources Hub
- Poll Everywhere
- Creating a Survey with Poll Everywhere
Creating a Survey with Poll Everywhere
Poll Everywhere can be used as a very simple survey tool. Unlike polls which students respond to in real time and see their answers appearing on the screen, surveys are designed to be emailed out to a group of students for completion at a later date.
Creating a survey with Poll Everywhere
- Login to your Poll Everywhere account at polleverywhere.com. You will have set up your account already, if not please see helpsheet PE_010 for guidance on how to set up your account.
- From the Poll Everywhere homepage select ‘Create’ to make a new poll. The ‘Create’ button is located to the top left of the screen.

- Along the top of the next page, you will see the most popular question types from Poll Everywhere users. Select ‘Survey’ from this list.

- Enter a title for your survey and then add your first question.
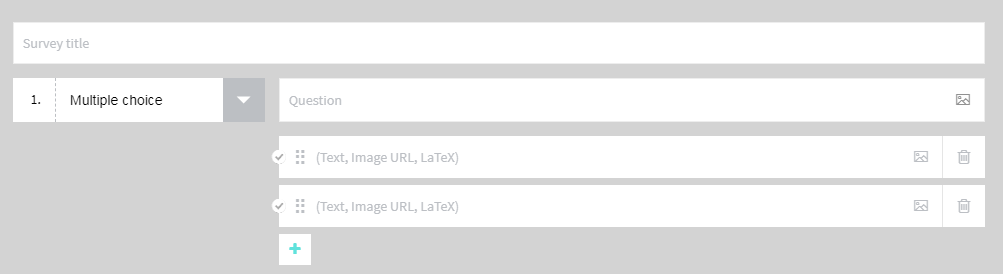
- You can add additional answers to your question using the blue plus icon below the last answer. You can also choose, if you like, for one answer to be correct by selecting the tick icon next to that particular answer.
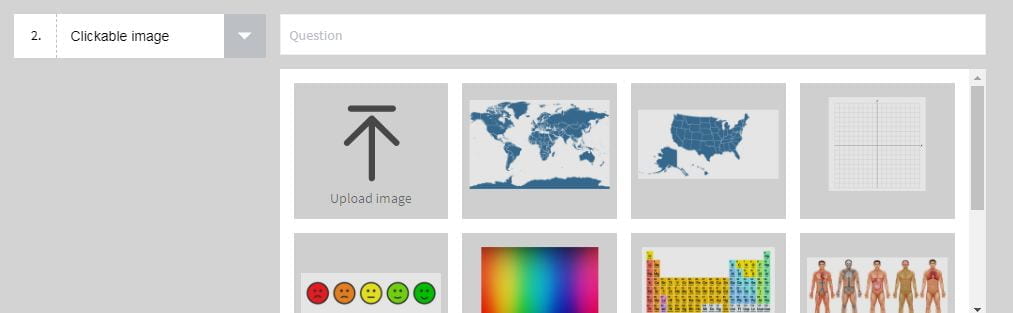
- Click the dropdown next to question number two and you can add a second question to your survey. There are several different question types that can be included in a survey: Multiple Choice, Word Cloud, Q&A, Clickable Image, Open Ended Text and Ranking.
- Repeat steps 5 and 6 until you have added all your questions to your survey.
- Click the ‘Create’ button to create your survey.

- You will be taken to the presentation screen where there are a number of options you can choose from. Looking to the left side of the screen for survey options menu.
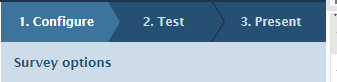
Under the configure menu you can:
- Choose how your survey will display, with all questions on one page or separate pages for each question.
- Choose how your survey will display, with all questions on one page or separate pages for each question.
- Choose how your survey will display, with all questions on one page or separate pages for each question.
- Choose how your survey will display, with all questions on one page or separate pages for each question.
Using the Test menu you can:
- Activate your survey and unlock questions to imitate how students can respond.
- Simulate a random number of student responses.
Using the Present menu you can:
Look at ‘How to present’ – not particularly useful in this case as you are sending out a survey.
Share your survey. Opening this section of the menu will show a shareable link which you can email out to your students. Clicking the link will take them to the survey and they can complete it in their web browser or on any tablet or mobile device.
- When you have finished creating your survey, click the ‘Polls’ button on the top left navigation menu to return to your list of polls.
- To see the results of your survey when students have responded, you should look to the right of the survey title in your list of polls. Each question in your survey will have a number next to it which denotes how many responses you have received.
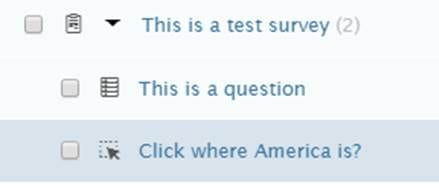

Clicking on each of these numbers will show you the responses to that particular question. You can also create a report which includes all responses.