Resources Hub
- Home
- Resources Hub
- Interactive Teaching and Learning in Microsoft Teams
- Microsoft Whiteboard
Microsoft Whiteboard
This help page will guide you through the features of ‘Microsoft Whiteboard’ within Microsoft Teams. Microsoft Whiteboard in Teams enables seamless collaboration and idea sharing during meetings. Its key benefits include:
- Collaboration and sharing: Whiteboard brings teams together in a single, inclusive space within a Teams meeting, eliminating the need to switch between apps or share screens.
- Real-time collaboration: All meeting participants can simultaneously view and edit the Whiteboard, fostering real-time collaboration across devices and enabling the co-creation of ideas.
- Use – Reuse before and after the meeting : Users can select and share an existing Whiteboard in a Teams meeting, facilitating preparation beforehand or providing the opportunity to access it after the meeting as well.
To share a Whiteboard in Microsoft Teams during a meeting, follow these steps
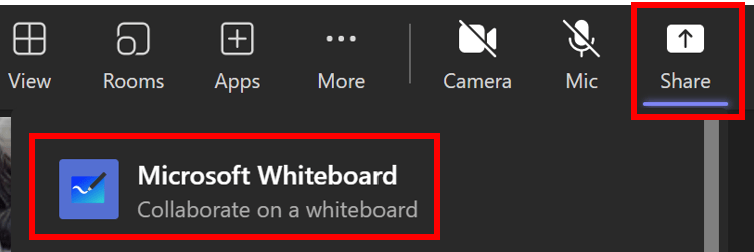
- In the Teams meeting’s click on the ‘Share’ icon.
- From the menu that appears, select ‘Microsoft Whiteboard.’
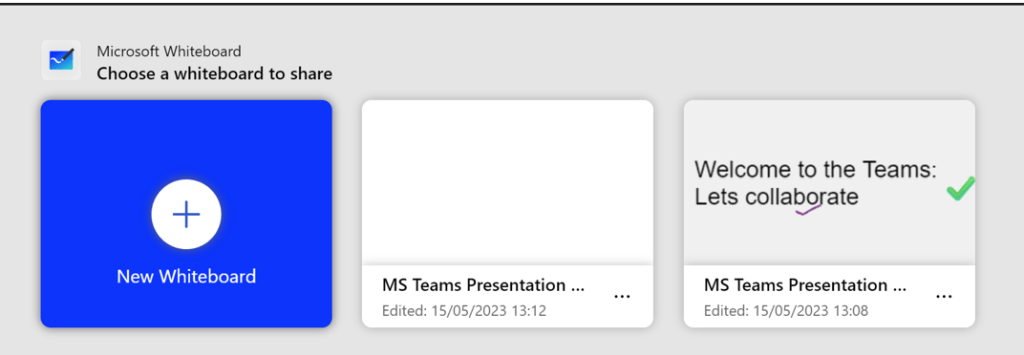
- The board picker view will open, allowing you to choose an existing whiteboard or start a new one. Select an existing whiteboard from the list or click on ‘New Whiteboard’ to create a new one.
- The whiteboard will now be shared with all participants in the Teams meeting.
Collaboration and Sharing
The Whiteboard feature in Microsoft Teams allows for real-time collaboration. You and other meeting participants can simultaneously work on the Whiteboard, making it easy to brainstorm and collaborate. All changes made by participants are visible to everyone in the meeting.
Option 1 : Enable Collaborative cursors
- On the toolbar on top right corner, you will see a ‘settings‘ cog icon. Click on this icon and select the ‘Collaborative cursors’ toggle switch to enable the collaboration.
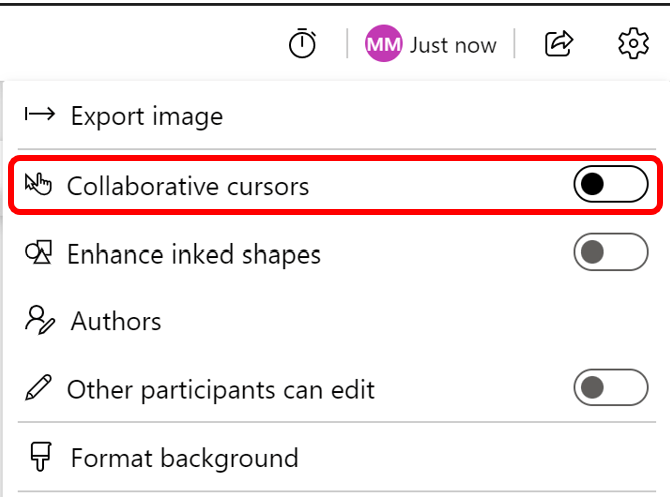
- Once the collaborative cursor is enabled, all participants in the meeting will be able to see each other’s cursors as they move around the Whiteboard.
Option 2 : Turn on and use annotation
To enable annotation while sharing your screen in a Microsoft Teams meeting, click on the ‘Start annotation’ or ‘Microsoft Teams annotation’ icon in the meeting controls at the top of your screen (as shown below). This will allow you to draw, highlight, add sticky notes or add text to the shared screen for interactive collaboration.

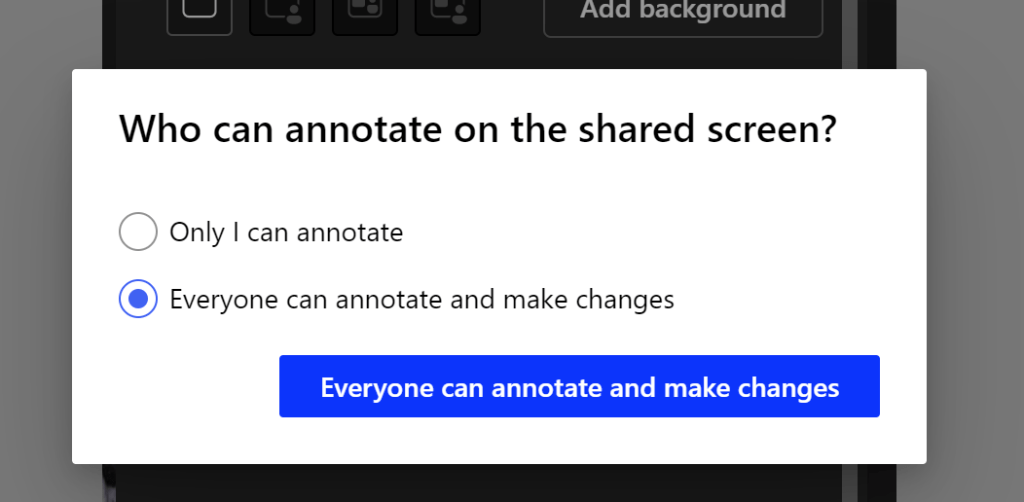
Once you select ‘Start annotation’ a pop-up will appear and allow you to select whether or not you want to allow everyone to be able to annotate, or only the presenter. If you want participants to collaborate select ‘Everyone can annotate and make changes.’
Text in Whiteboard
To add text to a whiteboard:
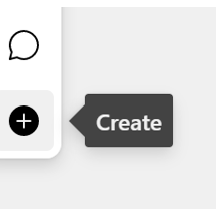
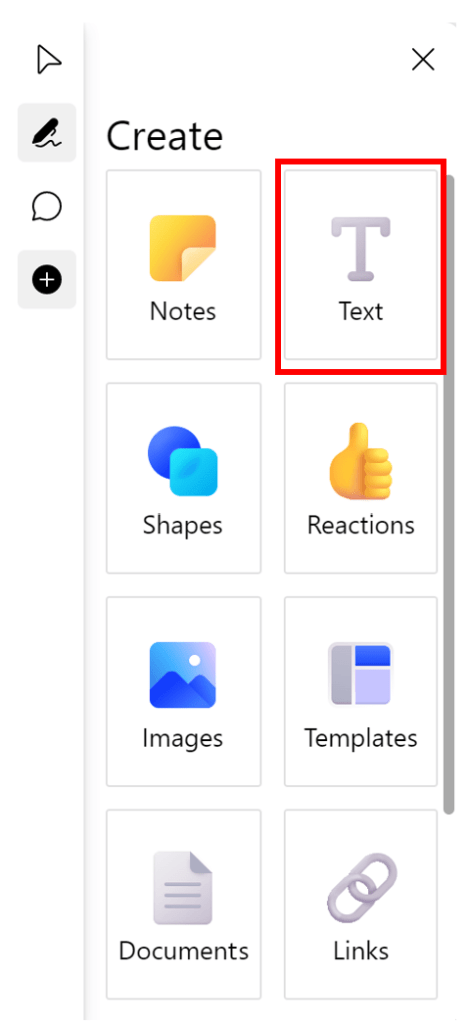
- Select the ‘Create‘ (plus icon) button in the toolbar, then select ‘Text.’
- Click on the canvas to add a text box. Alternatively, you can also choose right-click on the canvas and then select ‘Text.’
Add notes and note grids in Whiteboard
In Whiteboard, you can utilize sticky notes and note grids to brainstorm, plan projects, and organise subjects efficiently.
To add sticky notes or note grids in Whiteboard follow the steps below
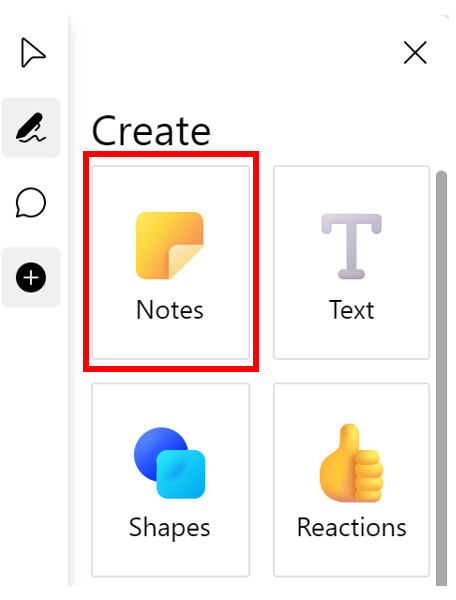
- Click on the ‘Create‘ button in the toolbar.
- Then select ‘Notes.‘
- Add ‘Note‘ or ‘Add Note Grid.’ Choose a colour and drag the note icon to the canvas.

Insert pictures and documents into a Whiteboard
To insert a picture or a document into the Whiteboard, follow these steps
- Open the ‘Create‘ menu by selecting ‘Create‘ (plus icon) from the left-hand menu.
- Select ‘Documents’ or ‘Images.‘
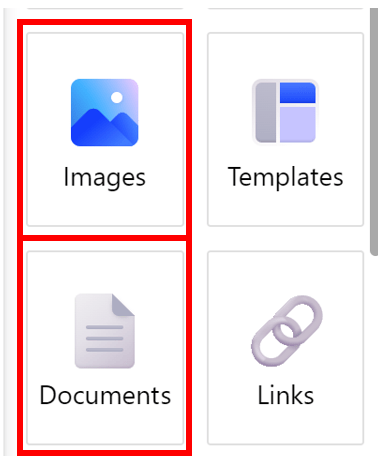
- Select ‘My Files‘ to open File Explorer. You can add PDFs, PowerPoint presentations or images through OneDrive or your own device.
- In case of a document, select document you wish to upload > pages or select all to upload the document.
Insert templates in Whiteboard
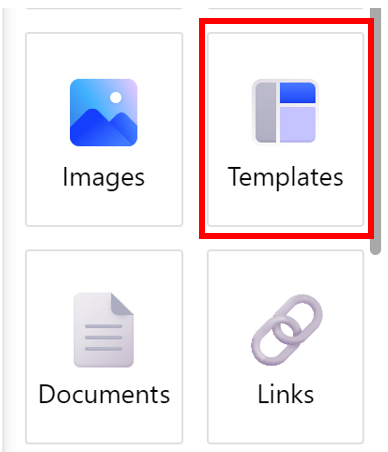
- Select the Create (plus icon) button in the toolbar.
- Select the Templates button in the Create panel.
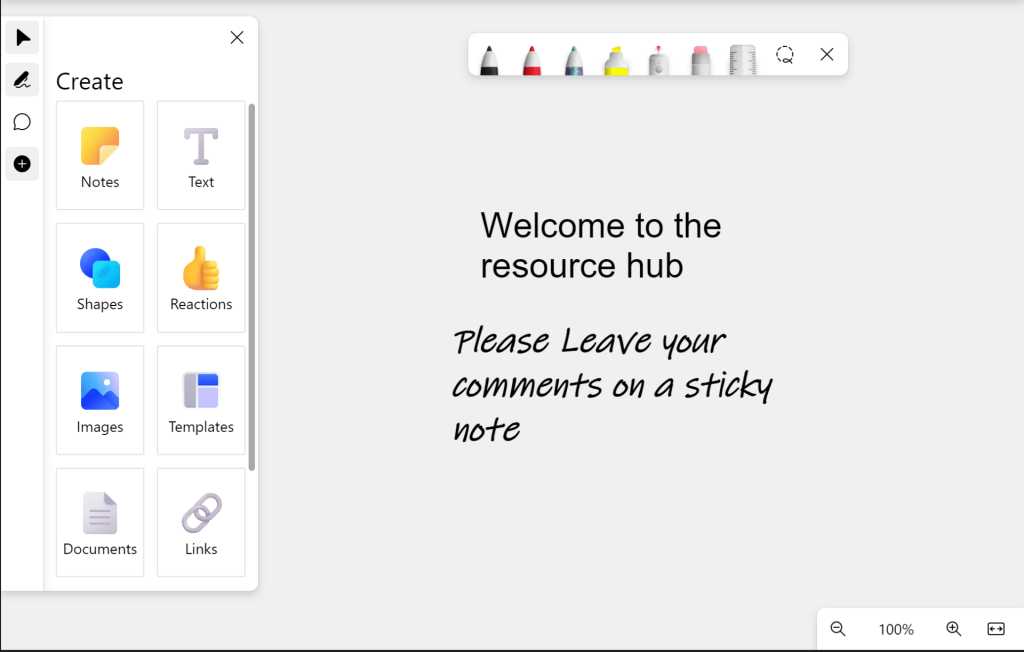
Draw and Ink in Whiteboard
- Select ‘Inking’ (pen icon) from the left-hand menu or press Alt + W.

- Select a pen from the ink toolbar to begin drawing. Double-clicking the pen allows you to choose a new colour or thickness from the drop-down menu.
Continue working on a Whiteboard after a meeting
The Whiteboard from the Teams meeting is accessible to all participants within your organization. You can find it in the meeting chat under the Whiteboard tab, enabling ongoing collaboration and re-use in future meetings.