Resources Hub
- Home
- Resources Hub
- Tutors and Assessors
- F. Creating Teaching, Learning and Assessment Plans (TLAPs)
F. Creating Teaching, Learning and Assessment Plans (TLAPs)
Assessment Templates and Activity Plans are a tool used by Assessors to help plan tasks, activities and assessments for themselves, learners and employers. They can also be used to schedule the next visit with a learner. Only assessors can create assessment plans for their learners. However, both assessors and centre managers can create assessment plan templates, which can then be assigned to a selection of learners by their assessors.
Which Process Should I use for Creating Learner Assessments?
- Process 1: Tutor provides task instructions and criteria mapping for a single assessment that the learner then submits to. (Assessment Templates)
- Process 2: Tutor provides task instructions and criteria mapping for multiple tasks that the learner then submits to. (Activity Plan)
- Process 3: Tutor uploads evidence documents on behalf of the learner and maps to criteria. (Assessment – Create Assessment)
- Process 4: Tutor wants to store evidence in the learner’s portfolio without mapping to the criteria. (Upload Evidence/Assessment Evidence)
This guide will focus on creating and assigning Assessment Templates, as described in process 1, for further guidance on the other processes described above, please see the relevant helpsheet on the One File Resources Hub page.
Assessment Templates or an Activity Plan?
Assessment Templates and Activity Plans will largely achieve the same objective, they both allow you to assign tasks to learners either individually or en masse, with instructions, files and start and due dates – though it is useful to understand which tasks they are best suited for.
Assessment Template
- An Assessment Template can be used to create re-usable individual tasks that assessors can assign to learners individually or to an entire cohort.
- These tasks can be locked down to individual learner aims and made available to all tutors on the One File centre regardless of whether they created them or not.
- Assessment templates are assigned individually, so whilst you can allocate them to multiple learners or cohorts at one time, you can only assign that individual task.
- Assessment templates can be used as templated activities within an Activity Plan and adjusted to suit the needs of a specific cohort or group of learners.
- Assessment templates, when assigned directly, do not allow for the provision of files to the learner or have start dates to dictate when the assessment can be completed from. When assigned as part of an Activity plan, they do allow for files to be provided and start dates to be set.
Activity Plan
- Activity Plans (TLAPs)can be created to template multiple tasks or activities that assessors can assign to learners individually or to an entire cohort.
- Depending on how you find it easiest to think of them, they are essentially a package, collection, or group of Assessment Templates.
- You do not need to create an Assessment Template to add tasks to an Activity Plan, these can be created within the Activity Plan page.
- However, if you want to create multiple plans, for example with difference for each cohort, then to save time you might want to create an Assessment Template first.
- Activity Plans do allow for the provision of files to the learner or have start dates to dictate when the assessment can be completed from.
Creating and Assigning an Activity Plan
To begin creating an Activity Plan, you will need to login to your One File Tutor or Assessor account and access the Homepage. Both the Activity Plans and the Assessment Templates features are found within the Forms and Templates tab of your Homepage.
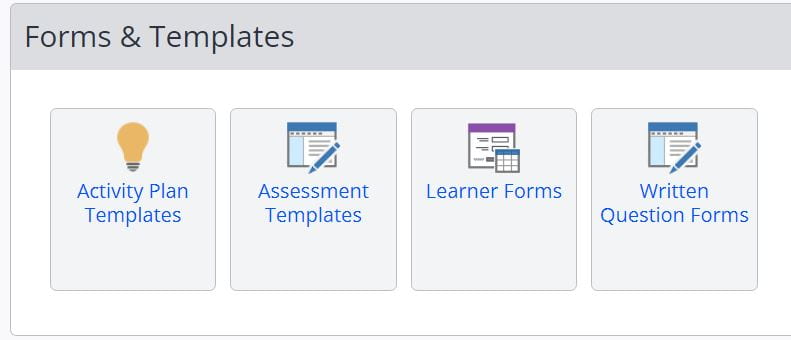
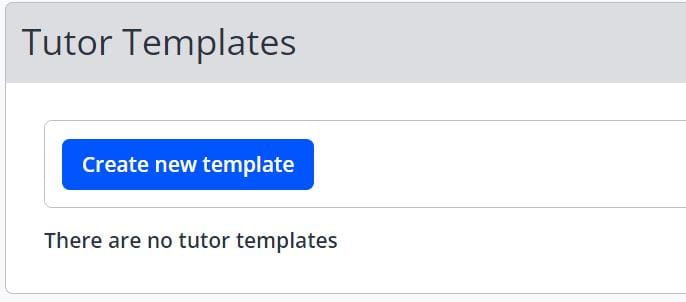
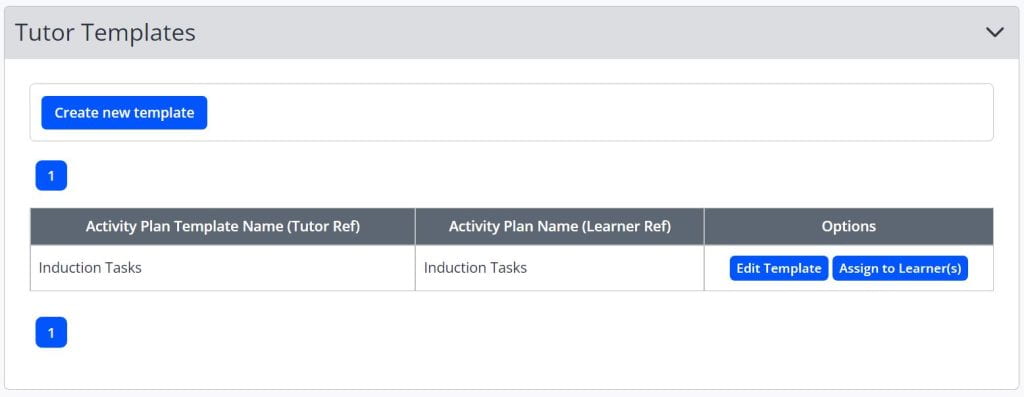
- Firstly, select the Activity Plan Templates icon. You may see a list of existing centre and tutor plans depending on how this feature has previously been used in One File for your programme area, to begin creating a new plan, click the Create New Assessment Template button.
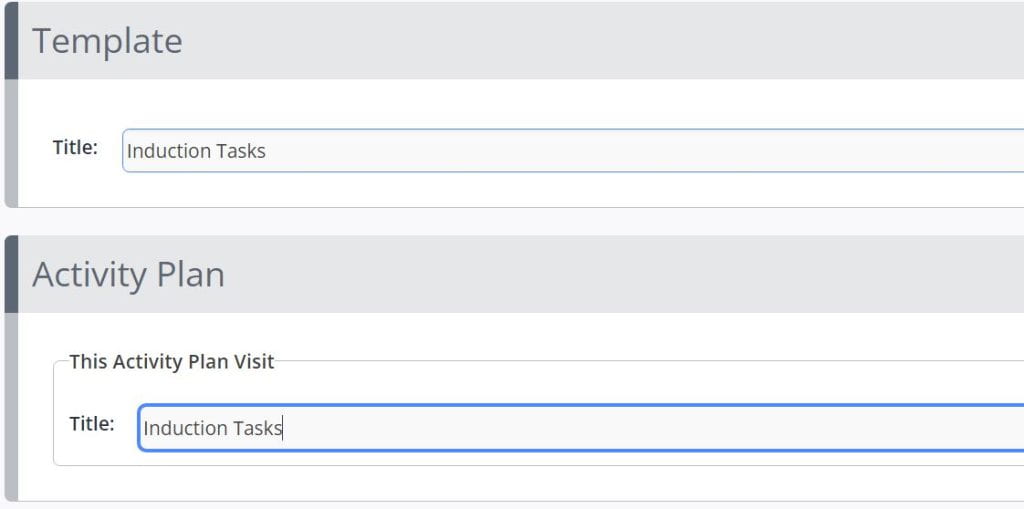
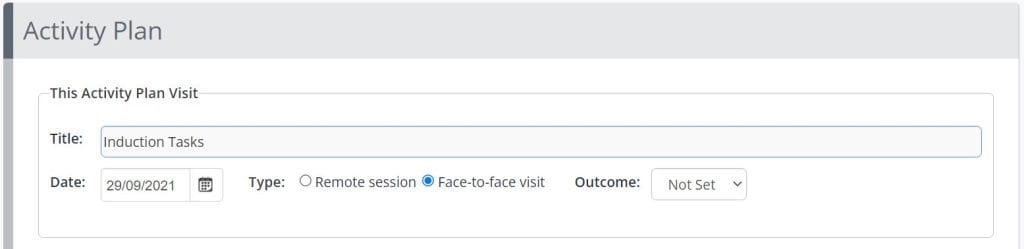
- Enter the template name, this is for your reference, and the Activity Plan name this will appear on the learner’s portfolio once assigned. The Activity Plan is likely to contain multiple tasks, therefore you should provide an overview title that encompasses all elements required, this might be a module ID and module name, or as in the example below ‘Induction Tasks’.
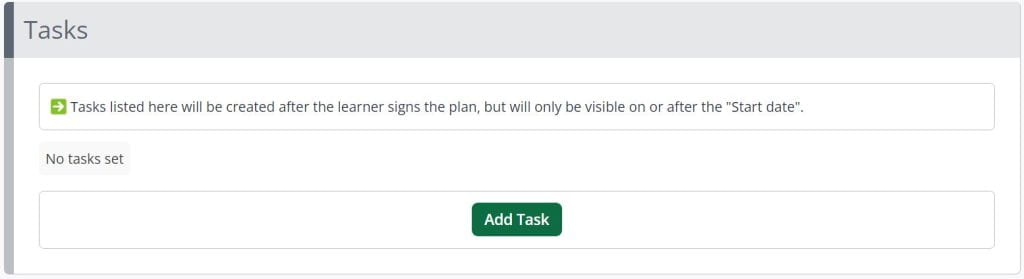
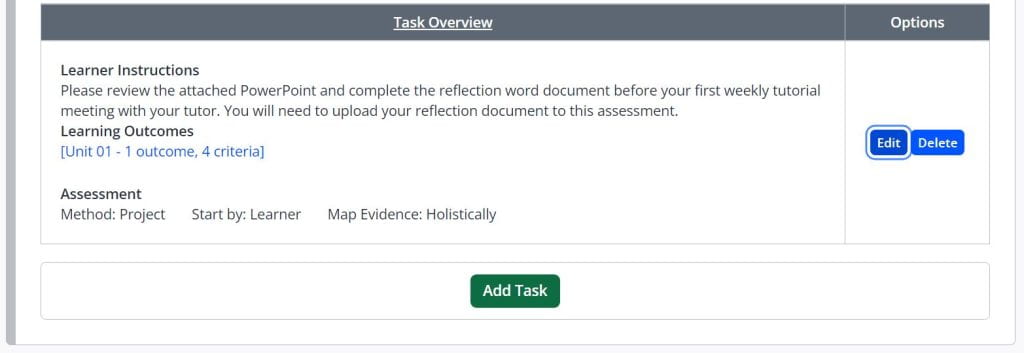
- You can now add your Tasks. Unlike in an Assessment Template, the purpose of an Activity Plan is to create a bundle of assessments or tasks that act as submission points for your learner’s to upload evidence to, with the instructions and criteria mapping already setup. To begin adding your Tasks, click Add Task.
- To create your Tasks, you will need:
- Select an assessment method – for example project, reflective essay or observation.
- Indicate whether this is for the learner to start or another user who is assigned to the portfolio.
- Whether evidence should be mapped holistically or per-criteria. Holistically means that there is only one area to add evidence, which maps to all the selected criteria, whereas per-criteria means that there is a separate area to map evidence to each individual selected criteria.
- Explain to the learner what the task is, what is expected of them and what should be uploaded as evidence.
- Select the outcomes, these are the knowledges, skills and behaviours that this individual task will meet. The tasks within your Activity Plan can meet a range of criteria.
- Add any attachments for that individual task.
In this example, an assessment template has been used to pre-populate this information. You can select these from the Use Template drop-down. If you amend any of the information in this Task, it will not impact the original template, therefore other Tutors can use the template and amend to suit their learners or cohorts.

Changing the method will determine which user could start the task. For example, if an “observation” is configured so that the “learner can’t start”, the learner option won’t appear in the drop down list. If the setting to allow “Employers to start assessments” is enabled and the learner has a default Employer, you will also be able to see the option to send the task to the Employer.

- When you have completed your task, click Save, and this will redirect you back to the Assign Activity Plan page. Your tasks will be listed in a table and can be edited and deleted as required. To add another task, simply click Add Task and repeat the previous step.
- When the Activity Plan is complete you can click Save to return to the previous menu where you will be able to begin Assigning to Learners.

- To assign the Activity Plan to your learner or learners, click on the Assign to Learner(s) button in the Options column of the Tutor Templates tab.
- In order to assign to your learners you will first need to select the relevant Framework Template that they are assigned it. You can filter which learners are displayed by showing learners studying at least one unit set in this Activity Plan, you can untick this to show all learners, only show learners who have not been set any of the Written Questions or Assessment Templates set in this Activity Plan and to hide learners already assigned to this Activity Plan. By default you should see all learners you are assigned to who have not previously received this plan, select their names individually or click select all.

- Firstly, review the title of the Plan, this is how it will be displayed in the Assessment tab and to the learner on their portfolio.
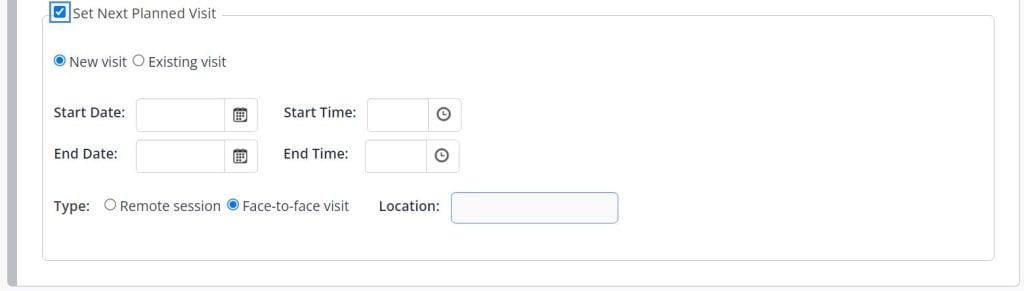
- If you are assigning the plan as part of a face-to-face meeting, you can select face-to-face visit, if you are assigning the plan without an explicit meeting with your learner’s, you can leave this set to remote session. The setting is only relevant if your centre and programme use the Visits function in One File, you can untick the Set Next Planned Visit option to remove any record of a visit, this will simply assign the plan to your learner’s for them to complete. If you are having a meeting to review and talk about the assessment plan, you may choose to create a new visit with the date and time set into the future.
- You will now see the tasks list that you created in the previous steps, for each tasks you will need to assign a start date and due date, to do this click the Edit Dates button and use the calendar field to adjust the dates. The start date refers to when the task shows in the Assessment area of the learner’s portfolio, and when learner’s can begin uploading evidence, the due dates will indicate when learner’s can no longer submit evidence (if enforced on your centre) or when the assessment evidence is considered late. You can use this as an indicative signpost if deadlines are not used for the assessment.

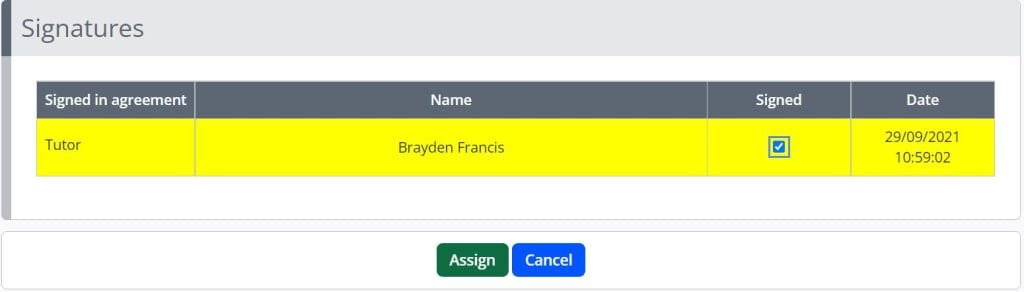
- When the plan is finished, place a tick in the Signed column and click the Save button. The learner will now receive a task, where they will be required to sign the plan to accept the tasks. Once signed by the learner, any tasks due to be started will appear for the relevant users.
Please note: this support resource is specific to the Tutor role within One File. The ‘Tutor’ is the qualified user role associated with the direct assessment of the portfolio, they review all evidence uploaded by the learner and provide feedback in relation to the knowledges, skills and behaviours of the apprenticeship framework. They also schedule and record all information for tripartite reviews and sign off each unit as they are completed by the learner. If you are unsure of the user role you have been given, you can verify this by logging into One File, and reviewing the role listed underneath your full name, displayed in the profile card in the top-right of the homepage interface.