Resources Hub
- Home
- Resources Hub
- Microsoft Teams
- Manually Transferring a Microsoft Teams Recording to Panopto
Manually Transferring a Microsoft Teams Recording to Panopto
This page will guide you through the process of manually transferring the recording from a Microsoft Teams meeting to Panopto. There are a number of benefits to moving recordings into Panopto, some include:
- The video will be captioned automatically,
- You can add interactive elements such as quizzes,
- You will have rich viewing data including which parts of the video are most watched.
Step 1- Download the Recording to your Computer
- In your Microsoft Teams, use the calendar to locate the meeting that was recorded.
- You will be able to access the recording from both the ‘chat’ as well as the ‘details’ tab.
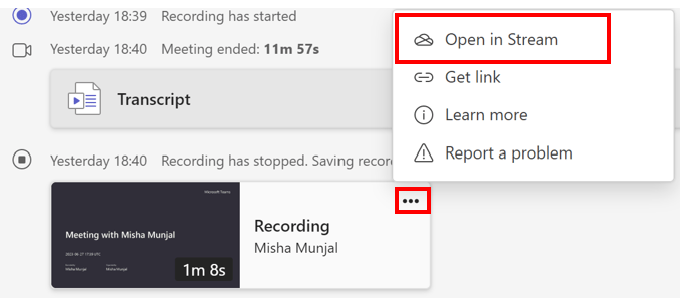
- In this example, we will access the recording from the ‘chat’, locate the recording and click on the three dots in the top-right corner of the thumbnail.
- From the options menu, select ‘Open in Stream’. This will open a new window in your web browser.
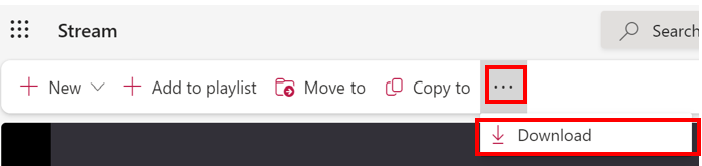
- On the Microsoft Stream page, you will see a navigation panel at the top of the screen. Look for three dots next to ‘copy to’ and click on ‘Download’.
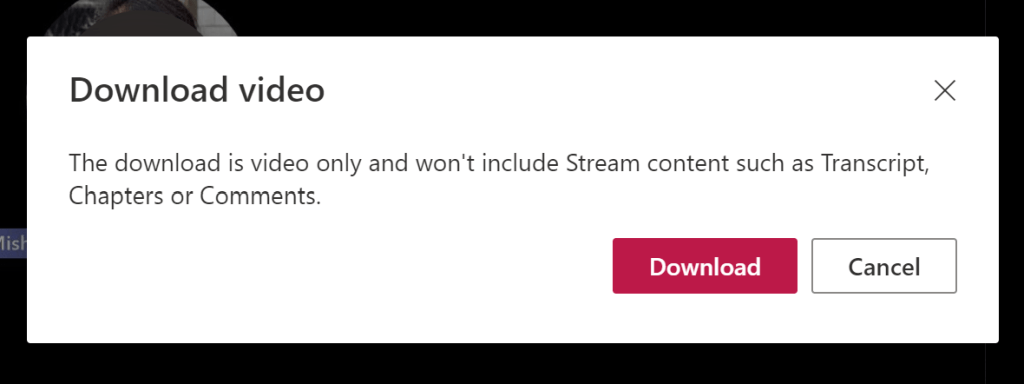
- Click on ‘Download’ option to save a copy to your computer. The video will start downloading to your computer’s default ‘Download’ folder. Wait for the download to complete.
Note: If you have recorded a transcript along with the meeting, you can download it separately from the Stream page or the meeting in Microsoft Teams.
Step 2 – Upload your Recording to Panopto
In order to upload your recording, you need to access the folder you want to upload it to, you can do this from within Blackboard or from the Panopto website.
- Blackboard Original – open your Blackboard module and click ‘Panopto’ on the left-hand menu to open your module folder.
- Blackboard Ultra – open the ‘Module Resources’ folder and then click on ‘Videos on Panopto’.
- Panopto Website – navigate to https://uol.cloud.panopto.eu/, login using your University of Lincoln email and password, then use the ‘Browse’ tab to open your folder.
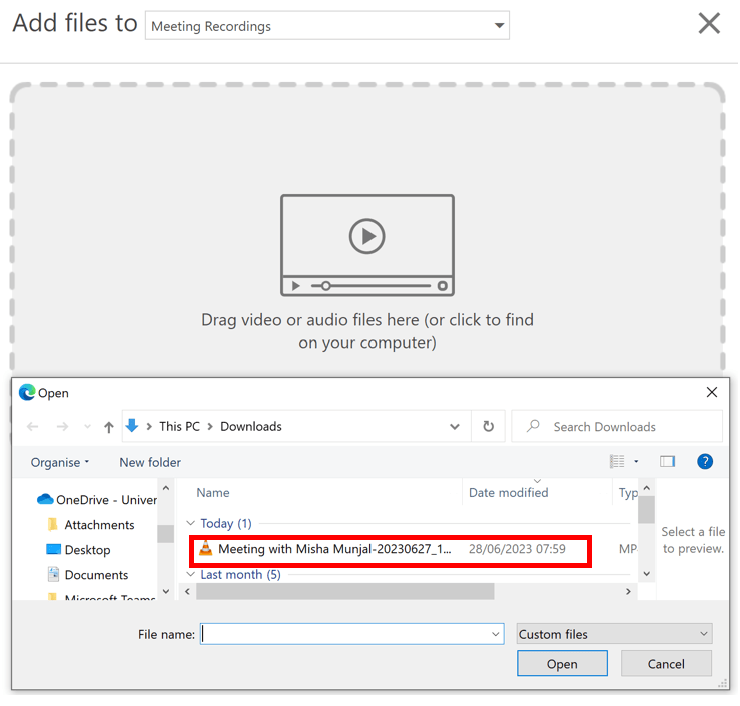
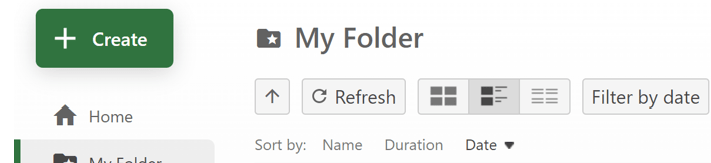
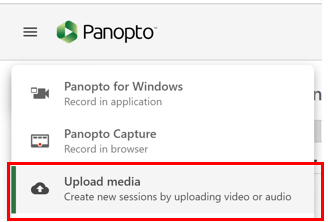
- Once you have accessed your folder, click on ‘Create’ and then choose ‘Upload Media’ to upload the recording from your computer.
- Either click in on the video icon to open your computer’s file browser or drag and drop the video file into the upload space.
- The video will begin uploading to the selected Panopto folder. Wait for the upload process to complete.
- Once the upload is finished, the transferred video recording will be accessible within the Panopto folder.