Resources Hub
- Home
- Resources Hub
- Microsoft Teams
- Recordings and Transcripts in Microsoft Teams
Recordings and Transcripts in Microsoft Teams
This page will provide an overview of the recording and transcription features available within Microsoft Teams. The Transcription feature is automatically enabled once you begin a recording, therefore you can choose to stop recording a transcript at any point without stopping your recording. You can also activate transcription of a meeting without recording the meeting itself.
- Start a meeting in Microsoft Teams by joining an existing meeting or scheduling a new one.
- Once you are in the meeting, look for the control toolbar at the top of the screen.
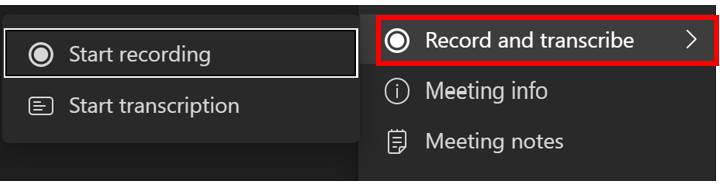
- To start recording the meeting, click on the ‘More Actions‘ button (three dots) in the toolbar.

- In the drop-down menu that appears, select Record and Transcribe > Start recording.
Please keep in mind that there may be a delay before the recording starts in Microsoft Teams and you may get a pop up message as shown in screenshot below. Allow sufficient time for the recording to initiate. Once the recording has started, you can proceed with your meeting as usual.

- When the recording and transcription starts, all participants in the meeting will receive a notification that the session is being recorded. Participants will also see a red dot next to the meeting title.

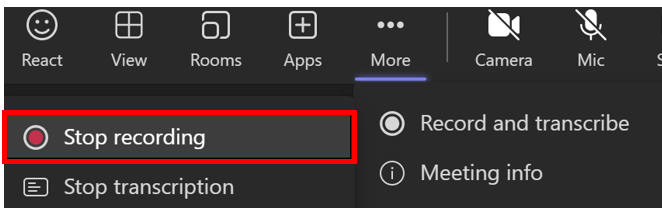
- To stop the recording, click on the ‘More Actions’ button again. In the drop-down menu, you should now see the option ‘Stop recording’. Click on it to end the recording.
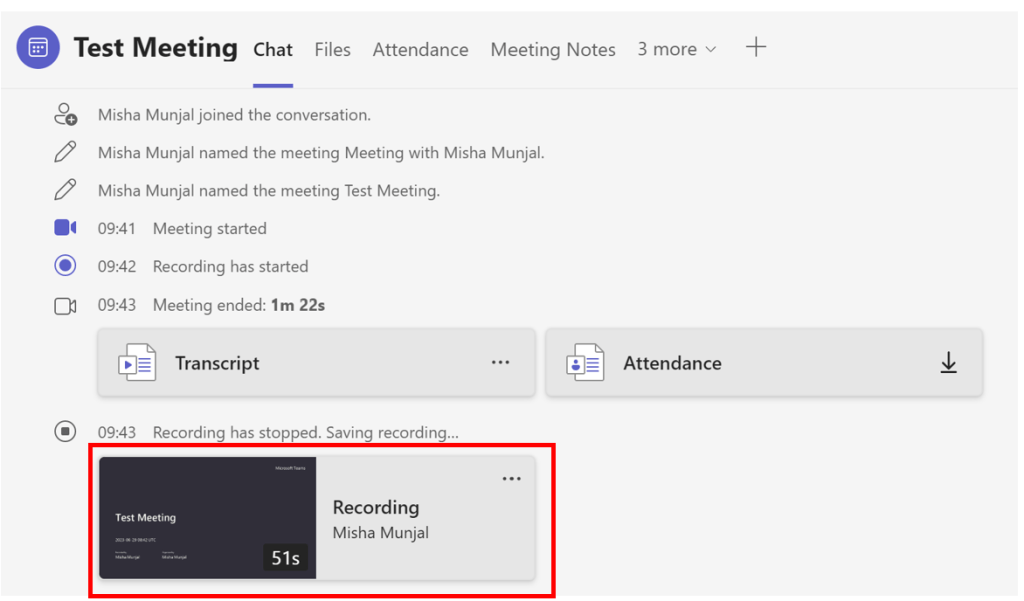
- After you stop the recording, Teams will process the file and save it in the meeting’s chat history.
Please be aware that the processing time for the recording after stopping it in Microsoft Teams may vary and could take some time. Factors such as the duration of the recording, network speed, and server load can influence the processing duration.