Resources Hub
- Home
- Breadcrumb arrowResources Hub
- Breadcrumb arrowMicrosoft Teams
- Breadcrumb arrowScheduling Meetings with Microsoft Outlook and Lincoln Timetabling
Scheduling Meetings with Microsoft Outlook and Lincoln Timetabling
This helpsheet refers to ‘Approach B’ described in the Scheduling Microsoft Teams in Blackboard Original and Ultra guidance on the Digital Education Resources Hub. Note: this guidance is for Blackboard Original Courses only.
Approach B involves using Microsoft Outlook and the University of Lincoln’s Timetabling service to schedule reoccurring meetings. All staff are able to copy a separated-list of the students on their module to copy and paste into the invite field of a Microsoft Outlook Teams Meeting.
Whilst it is possible to share a link to a Microsoft Teams Meeting there are real benefits to directly inviting users to your online meetings, within Microsoft Teams these are:
- Security – the Meeting Options for Microsoft Teams allow you to limit attendance to only those invited, even if the link is shared wider than your intended audience, this prevents any uninvited attendees from joining.
- Breakout Groups – when you specifically name who is attending your meeting, you can setup breakout groups ahead of time, saving you time during your synchronous session.
- Attendance Reporting – whilst you can report on guest attendance in a Microsoft Teams meeting, inviting users directly means that the report will contain their full name and student ID number, as you would expect to find it in Blackboard and other systems.
How do I easily Invite Large Groups to my Meeting?
Search
- Firstly, access the University of Lincoln Timetabling Service (Web link, opens in a new tab).

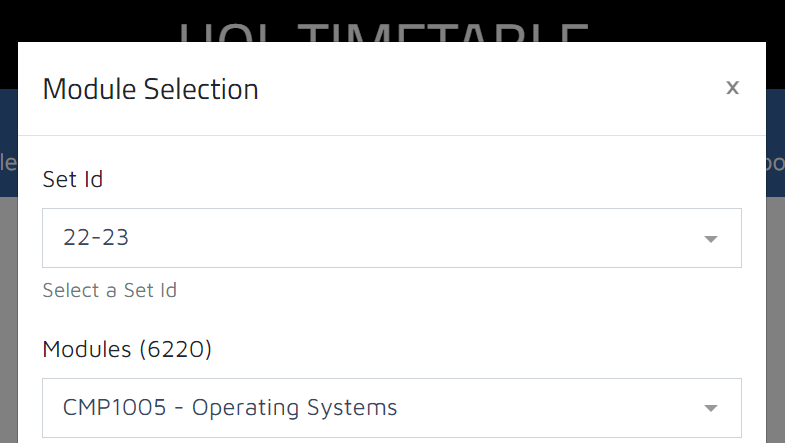
- Select Module Timetable and locate your module using the drop-down menus.

Copy
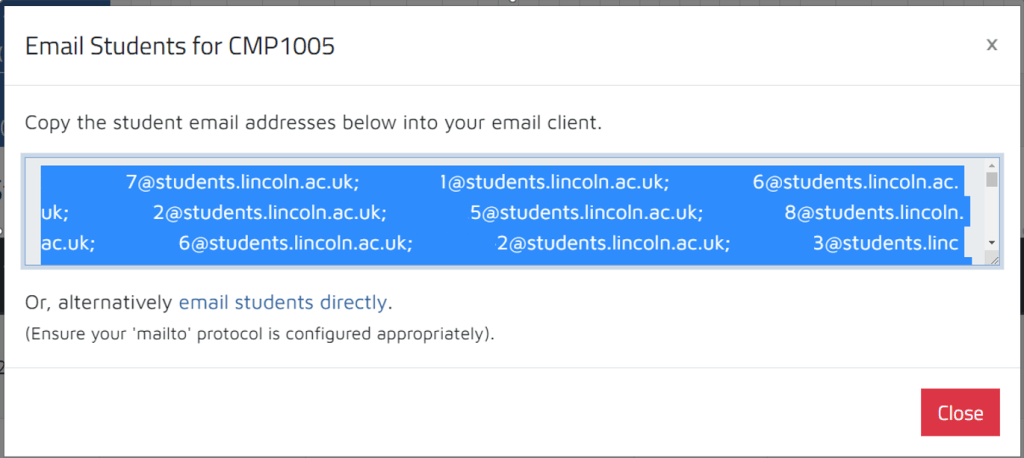
- Click on the Email Students button next to the title “Students for [MODULE CODE]“.

- Select the separated list of students and then copy (using CTRL+C or right-click and choose copy).

Paste and Check
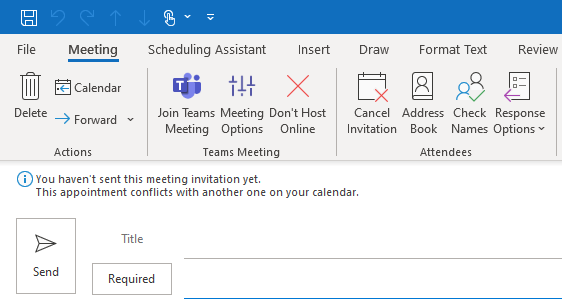
- Start composing a new Microsoft Teams Meeting using Outlook.

- Paste the list of students into the Required box.
- Click Check Names to confirm that all student’s email addresses are valid.

Customise and Send
- Customise your meeting as required including the date, time, reoccurrence and Meeting Options.
- Click Send to invite your students to the meeting.